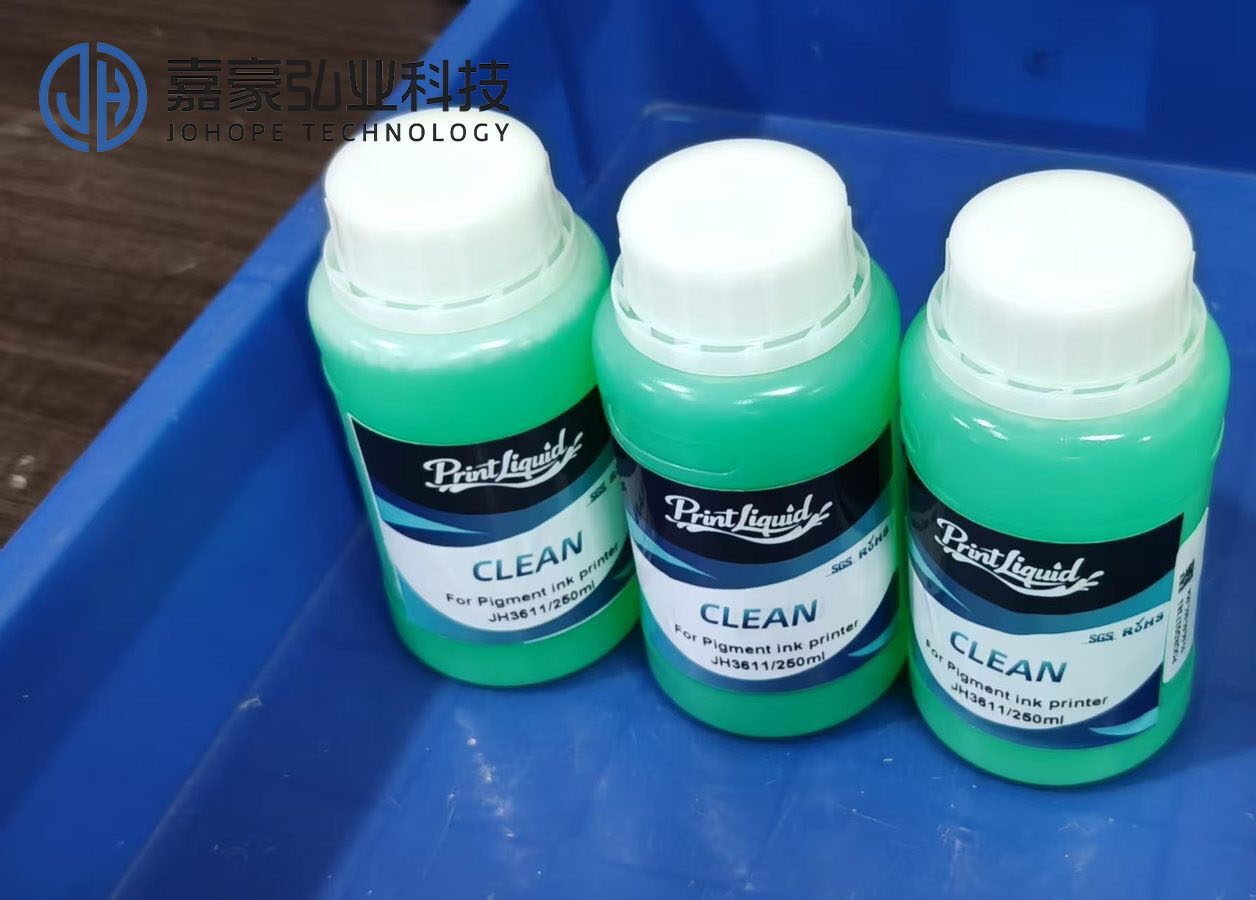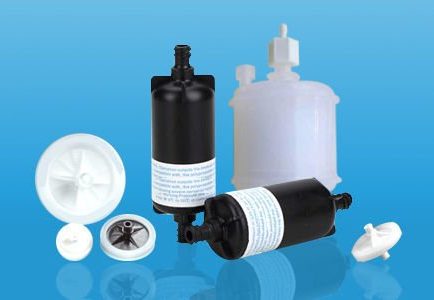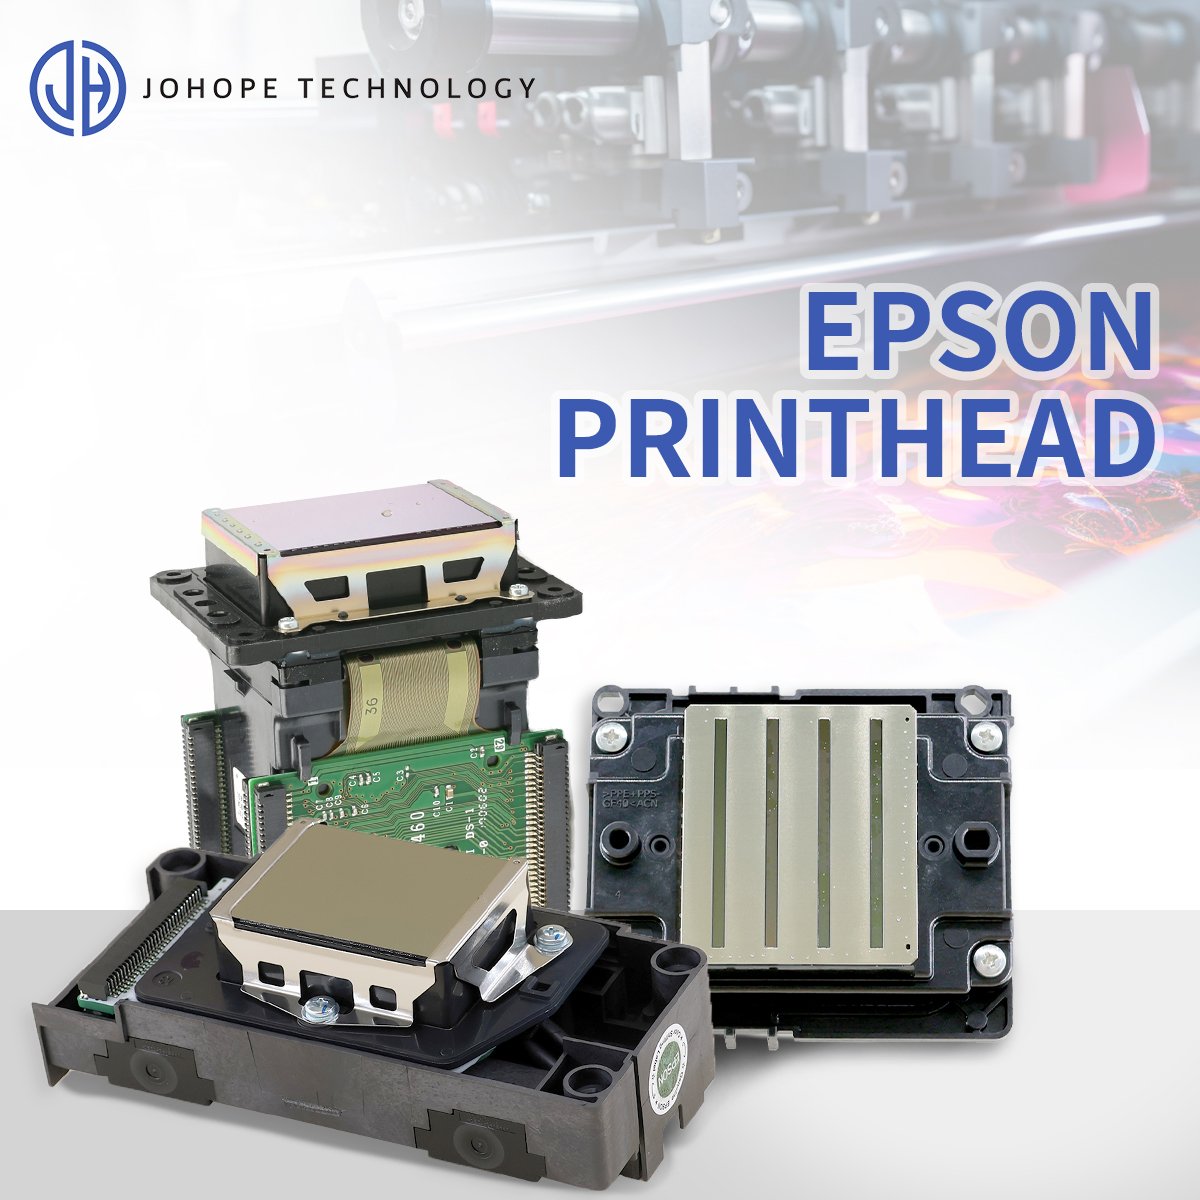

Printhead ink starvation is one of the most common and frustrating issues in wide-format printing. Whether you're running eco-solvent, UV, or dye-sublimation printers, inconsistent ink output can lead to poor print quality, wasted materials, and costly downtime.
Many operators instinctively perform repeated cleaning cycles—but this often worsens the situation by accelerating printhead wear and wasting ink.
The truth is that over 90% of ink starvation issues are caused by four key factors: air in the ink system, partial clogging, unstable negative pressure, or poor ink quality.
In this guide, we’ll walk you through:
- Quick emergency fixes
- Root cause analysis
- Step-by-step troubleshooting workflow
- Critical mistakes to avoid
1. Quick Fix: How to Recover Ink Flow in Minutes
When ink starvation occurs during printing, follow this rapid response process:
Step 1: Print a Nozzle Check Pattern
This helps identify the type of issue:
- Missing lines in fixed positions → clogged printhead
- Random missing lines → air bubbles or ink supply issue
- One color missing entirely → ink path blockage or empty ink supply
Step 2: Perform Controlled Cleaning
Run 1–2 cleaning cycles only:
- Helps clear minor clogs
- Avoid excessive cleaning (more than 3 times damages the printhead)
Always print another nozzle check after cleaning.
Step 3: Remove Air from the Ink System
Air bubbles are a leading cause of ink starvation.
- Use a syringe or ink extractor
- Slowly draw ink from the damper
- Ensure smooth ink flow with no bubbles
Also, check the negative pressure system to ensure it’s within the correct range.
Step 4: Clean the Printhead Surface
- Use a lint-free cloth + cleaning solution
- Gently blot (do not wipe)
- Let it sit for 1–2 minutes
This helps dissolve dried ink on the nozzle surface.
2. Root Causes of Printhead Ink Starvation
2.1 Air Leaks in Ink Supply System (Most Common)
Symptoms:
- Intermittent ink loss
- Temporary recovery after cleaning
- Visible air bubbles in ink tubes
Inspection Points:
- Cartridge seals
- Ink tubes (cracks, bends)
- Connectors and joints
- Dampers (swelling or aging)
Solutions:
- Replace damaged tubes or seals
- Tighten or reseal connections
- Replace worn dampers
- Re-prime the ink system
2.2 Clogged Printhead
Symptoms:
- Missing lines in fixed positions
- Recurring nozzle dropouts
Solutions by Severity:
- Light clogging → standard cleaning
- Moderate clogging → soaking method (10–20 minutes)
- Severe clogging → professional ultrasonic cleaning or replacement
Never soak electronic components of the printhead.
2.3 Ink Quality Issues
Common Causes:
- Low-quality or incompatible ink
- Mixing different ink brands
- Expired or contaminated ink
Effects:
- Ink crystallization
- Sediment buildup
- Frequent clogging
Best Practices:
- Use high-quality, compatible ink
- Avoid mixing ink types
- Store ink properly (cool, dark environment)
- Use opened ink within 3 months
2.4 Environmental Factors & Maintenance
Recommended Conditions:
- Temperature: 18–28°C (64–82°F)
- Humidity: 40–60%
Maintenance Routine:
- Daily nozzle check
- Weekly full-color printing
- Monthly deep maintenance
Poor environmental control leads to ink drying or viscosity issues.
2.5 Printhead Wear or Damage
If all troubleshooting fails, the issue may be hardware-related.
Signs:
- Persistent deflection (misfiring ink)
- Severe missing nozzles
- No improvement after cleaning
Solution:
Replace the printhead with a compatible model.
3. Recommended Troubleshooting Workflow
Follow this optimized sequence:
- Print nozzle check
- Inspect the ink supply system (air leaks first)
- Check and adjust negative pressure
- Perform limited cleaning
- Clean printhead surface
- Apply soaking if necessary
- Replace the printhead if unresolved
This method minimizes downtime and prevents unnecessary damage.
4. Critical Mistakes to Avoid
Avoid these common but damaging actions:
- Using alcohol, acetone, or harsh chemicals
- Soaking the printhead electronics
- Excessive cleaning cycles
- Mixing different ink brands
- Using expired or low-quality ink
5. Prevent Ink Starvation Before It Happens
The best strategy is prevention:
- Maintain a stable working environment
- Use high-quality consumables
- Follow a regular maintenance schedule
- Check the ink system sealing regularly
Proper maintenance can extend printhead life significantly and reduce downtime.
Conclusion
Printhead ink starvation doesn’t have to disrupt your production.
By applying a structured approach—quick response, accurate diagnosis, and preventive maintenance—you can solve most issues efficiently and avoid costly repairs.
If ink starvation occurs frequently, start by optimizing your ink supply system and ink quality—these are the most impactful improvements you can make.