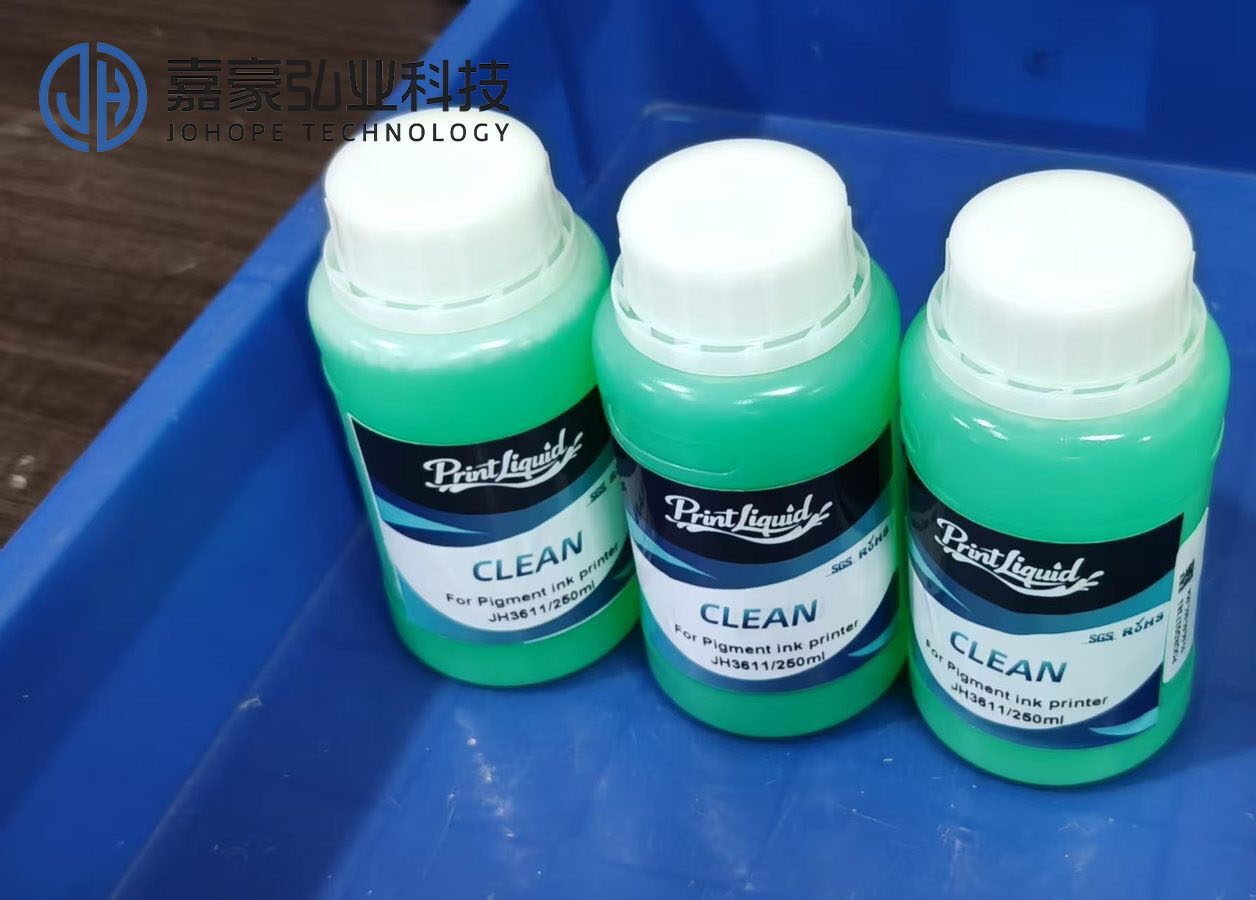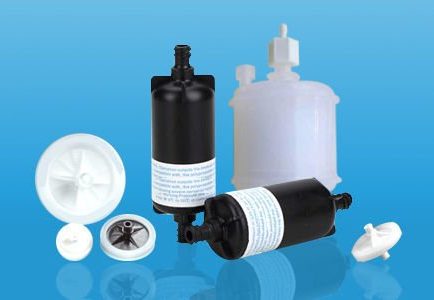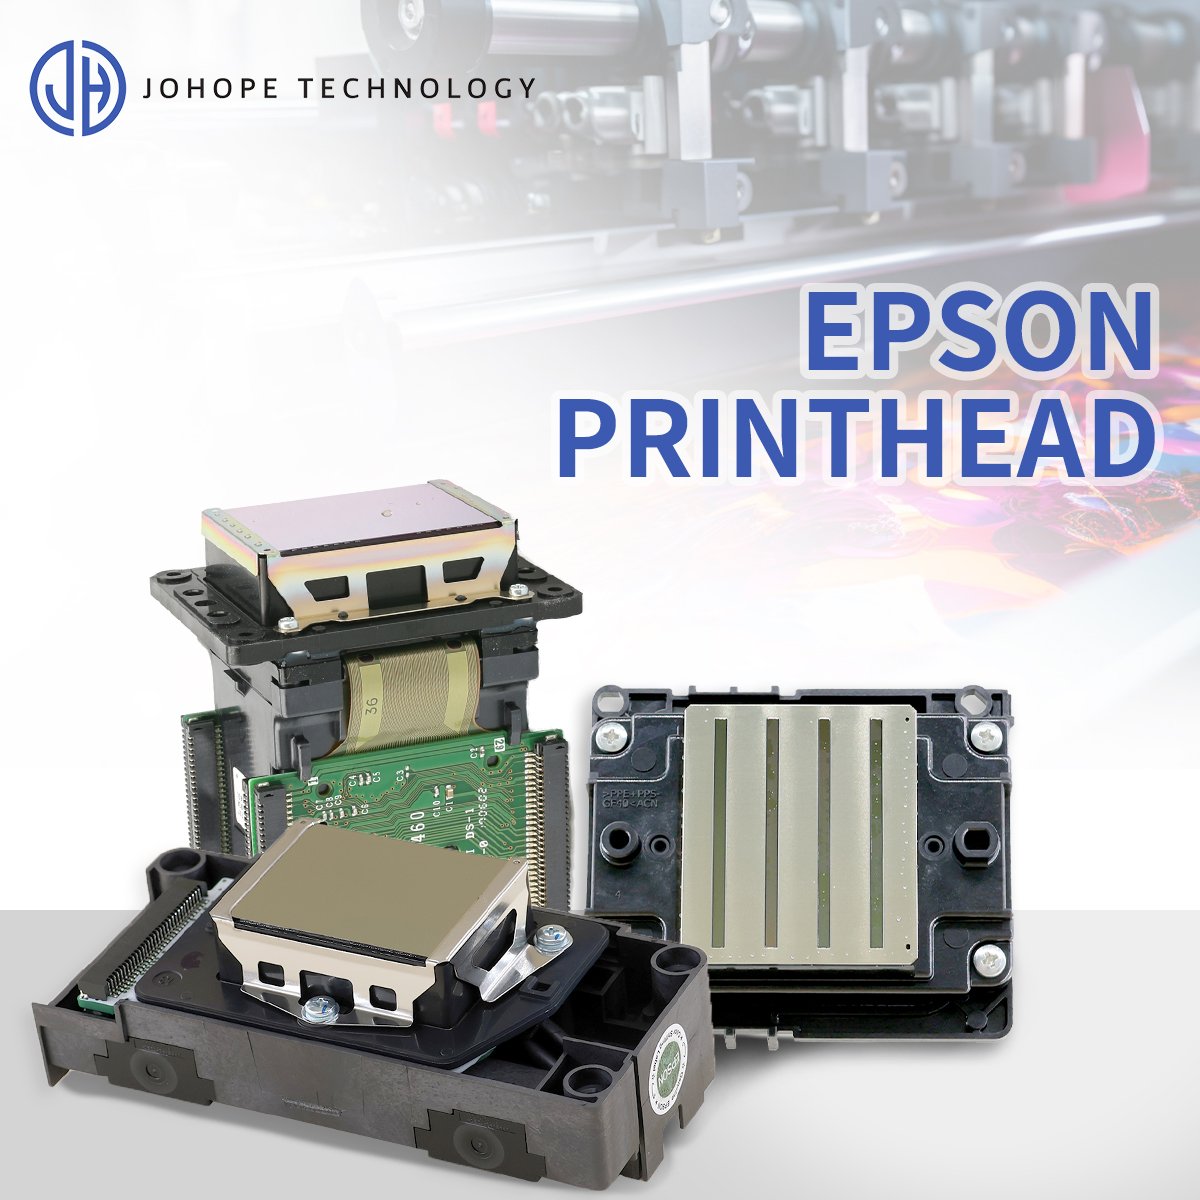

In large-format printing, the printhead is the most critical, expensive, and delicate component of the entire machine.
Many users only start paying attention to printhead maintenance after experiencing problems such as:
- Missing nozzles
- Ink starvation
- Banding
- Overspray
- Color inconsistency
- Nozzle clogging
- Print quality instability
However, most printhead failures are not sudden. They are usually caused by long-term neglect of maintenance details, including improper operation, unstable ink supply, poor working environments, incorrect cleaning methods, and insufficient moisture protection.
This is especially true for:
- Eco-solvent printers
- UV printers
- DTF printers
- Wide-format inkjet printers
- Industrial inkjet systems
Because printheads operate under high frequency, high precision, and continuous thermal load, proper maintenance is essential for long-term stability.
A printhead that should last several years can fail within months if it is not maintained correctly.
This guide will systematically explain:
- Why printheads fail
- Daily maintenance procedures
- Proper moisturizing and capping methods
- Ink system maintenance
- Correct ways to handle clogging
- Deep cleaning techniques
- Long-term shutdown procedures
- Best practices to extend printhead lifespan
Helping you reduce downtime, lower replacement costs, and maintain stable print quality.
1. Why Are Printheads So Easy to Damage?
Many users think:
“Printheads are consumables, so failure is normal.”
In reality, most printheads are not naturally worn out — they are prematurely damaged by improper use.
A printhead is an extremely precise industrial component containing:
- Microscopic nozzles
- Piezoelectric crystals
- Precision ink chambers
- High-speed firing circuits
- Thermal control structures
The nozzle diameter is often close to the size of airborne dust particles.
As a result, even small issues can cause major problems, including:
- Dust contamination
- Static electricity
- Ink impurities
- Air bubbles
- Dried ink
- Excessive heat
- Incorrect cleaning procedures
Minor issues may lead to:
- Missing nozzles
- Banding
- Ink deflection
Severe issues may result in:
- Electrical failure
- Permanent nozzle damage
- Piezo crystal failure
- Complete printhead destruction
Therefore, printhead maintenance is fundamentally about maintaining long-term operational stability.
2. The Most Important Principles of Printhead Maintenance
Many users clean printheads every day but still experience recurring issues.
That is because the true factors affecting printhead lifespan are not simply “how often you clean,” but whether the following core principles are properly maintained.
2.1 Keep the Printhead Moisturized at All Times
The biggest enemy of a printhead is not printing — it is drying out.
Ink solvents continuously evaporate, especially with:
- Eco-solvent inks
- UV inks
- Pigment-based inks
When nozzles remain exposed to air for too long:
- Ink thickens
- Pigments accumulate
- Ink crystallizes
- Nozzles become clogged
Ultimately, the most important rule of printhead maintenance is simple:
Never allow the nozzles to dry out.
2.2 Avoid Leaving the Printhead Idle for Long Periods
Many users believe:
“If the printer is not used, the printhead is safe.”
Actually, long idle periods are extremely harmful.
When the printhead stops firing:
- Ink circulation stops
- Solvent evaporation increases
- Edge nozzles dry first
Even when production is paused, it is recommended to:
- Print nozzle checks daily
- Output small color blocks regularly
- Keep CMYK channels active
This helps:
- Maintain ink circulation
- Prevent nozzle drying
- Reduce clogging risk
New printheads are especially vulnerable during long idle periods.
2.3 Stable Ink Supply Is Critical
Many nozzle dropouts are not caused by clogged printheads but by unstable ink supply.
Common causes include:
- Air entering ink tubes
- Loose ink connections
- Damaged dampers
- Clogged filters
- Incorrect ink pressure
These issues cause unstable pressure inside the printhead, leading to:
- Random nozzle loss
- Ink starvation
- Overspray
- Inconsistent printing
Therefore, printhead maintenance also means maintaining the entire ink delivery system.
3. Daily Printhead Maintenance Procedures
3.1 Always Prime Ink Before Powering On
One of the most common causes of printhead damage is “dry firing.”
During operation:
- Piezo crystals generate heat
- Internal circuits warm up continuously
- Ink chambers vibrate at high frequency
Ink itself functions as a cooling medium.
Without proper ink flow:
- Heat cannot dissipate
- Nozzles may carbonize
- Piezo crystals may crack
- Circuits may overheat
Correct startup procedure:
Ink supply → Air removal → System check → Power on
Never power on the printhead without ink.
3.2 Perform Proper Moisturizing After Daily Work
Many printheads clog overnight rather than during printing.
At the end of each workday:
Standard capping procedure:
Step 1: Shut Down the Printer
Turn off the main power.
Step 2: Clean the Capping Sponge
Use dedicated cleaning solution to:
- Clean the capping station sponge
- Remove dried ink residue
A dirty sponge cannot properly seal or moisturize the printhead.
Step 3: Add Cleaning Solution
Apply appropriate cleaning solution to:
- The capping sponge
- Protective film if used
This maintains moisture around the nozzles.
Step 4: Return the Printhead to the Capping Position
Ensure the nozzle surface tightly seals against the capping station.
This helps:
- Isolate air exposure
- Slow solvent evaporation
- Prevent nozzle drying
Many printers showing missing nozzles in the morning are simply suffering from poor overnight capping.
3.3 Regularly Inspect the Ink System
The entire ink system directly affects printhead stability.
Ink Tubes
Check for:
- Air bubbles
- Aging
- Cracks
- Leaks
Ink Filters
Clogged filters can cause:
- Slow ink flow
- Insufficient ink supply
- Ink starvation during high-speed printing
Filters should be cleaned or replaced regularly.
Dampers / Sub Tanks
Inspect for:
- Stable ink levels
- Proper pressure balance
- Ink contamination
Stable ink delivery is essential for stable nozzle firing.
4. Critical Printhead Handling Precautions
Many printheads are damaged by improper handling rather than normal use.
4.1 Never Install or Remove Printheads While Powered On
The printhead interface is extremely sensitive.
Hot swapping may instantly cause:
Circuit failure
Mainboard damage
Burned printheads
Always:
Turn off the main power before handling printheads.
4.2 Prevent Ink or Cleaning Solution from Contacting Connectors
The printhead’s top connectors must remain dry.
Ink contamination may cause:
- Oxidation
- Signal instability
- Electrical short circuits
If contamination occurs:
Use pure alcohol carefully for cleaning.
4.3 Never Scratch the Nozzle Surface
The nozzle plate is typically made from delicate polyimide film.
Hard contact from:
- Metal tools
- Fingernails
- Rough swabs
- Media collisions
may permanently damage nozzle alignment.
Consequences include:
- Deflected spray
- Overspray
- Misfiring nozzles
Always use:
- Lint-free cloths
- Soft foam swabs
- Gentle wiping methods
Never apply force.
4.4 Avoid Aggressive Cleaning
Many users over-clean when nozzle issues appear:
- Excessive suction
- High-pressure flushing
- Long ultrasonic cleaning cycles
This can seriously damage:
- Piezo layers
- Ink chamber seals
- Internal structures
Proper cleaning should always follow this order:
Light cleaning → Medium cleaning → Deep cleaning
Avoid excessive force.
5. Proper Methods for Handling Clogged Printheads
5.1 Light Clogging
Symptoms:
- Minor nozzle dropout
- Broken nozzle check lines
- Slight ink inconsistency
Solution:
- Pause printing immediately
- Run suction cleaning
- Perform nozzle cleaning
Do not continue printing.
5.2 Medium Clogging
If problems repeatedly return after cleaning:
Check:
- Air leaks
- Ink filters
- Ink condition
- Ink pressure stability
Low-pressure flushing with a cleaning solution may be necessary.
Avoid excessive pressure.
5.3 Severe Clogging
When normal cleaning fails:
The printhead may require deep cleaning.
Soaking Method
Place only the nozzle surface into the dedicated cleaning solution.
Important:
The liquid level should cover only 2–3 mm of the nozzle area.
Never immerse the entire printhead.
Avoid contact with electrical connectors.
Ultrasonic Cleaning
Specialized ultrasonic cleaners may help.
However:
- Each cycle should stay under 5 minutes
- Continuous cleaning should not exceed 3 cycles
Excessive ultrasonic cleaning may damage piezo crystals.
Check Fluid Lines
After flushing:
Observe whether the cleaning solution exits evenly from all nozzles.
Straight and consistent fluid lines indicate successful cleaning.
6. Long-Term Shutdown Procedures
If the printer will remain unused for more than 2 days:
Proper shutdown maintenance is necessary.
Otherwise:
Residual ink may dry and harden inside the nozzles.
Recommended Shutdown Procedure
Step 1: Empty the Dampers/Sub Tanks
Remove remaining ink.
Step 2: Flush the Ink System
Clean:
- Ink tubes
- Dampers
- Internal printhead channels
using a dedicated cleaning solution.
Step 3: Leave Some Cleaning Solution Inside
Do not completely dry the printhead.
Residual cleaning solution helps:
- Maintain internal moisture
- Prevent nozzle drying
Step 4: Seal the Printhead Properly
Use:
- Plastic film
- Sealed containers
to prevent:
- Dust contamination
- Solvent evaporation
This is especially important before long holidays.
7. The Real Secret to Long Printhead Lifespan
The lifespan of a printhead depends less on brand and more on maintenance habits.
The most important long-term practices include:
- Maintaining a clean environment
- Controlling temperature and humidity
- Using stable, high-quality ink
- Keeping the ink supply stable
- Performing daily moisturizing
- Addressing minor clogs immediately
- Avoiding aggressive cleaning
- Preparing properly for long shutdowns
Most printheads do not fail because they were “used too much.”
They failed because they were
- Dried out
- Clogged
- Overheated
- Improperly cleaned
Consistent maintenance is far more important than frequent replacement.