Printheads are the core components of the inkjet industry. They are consumables and expensive. How to repair defective printheads and continue using them has always been a core concern for many users. Printhead cleaning is a niche industry in the inkjet industry, but it contains many principles and techniques. In this issue, we will talk to you about the technical aspects of printhead cleaning.
Ⅰ. How Do You Determine If the Printhead Needs Cleaning?
1. Print Quality
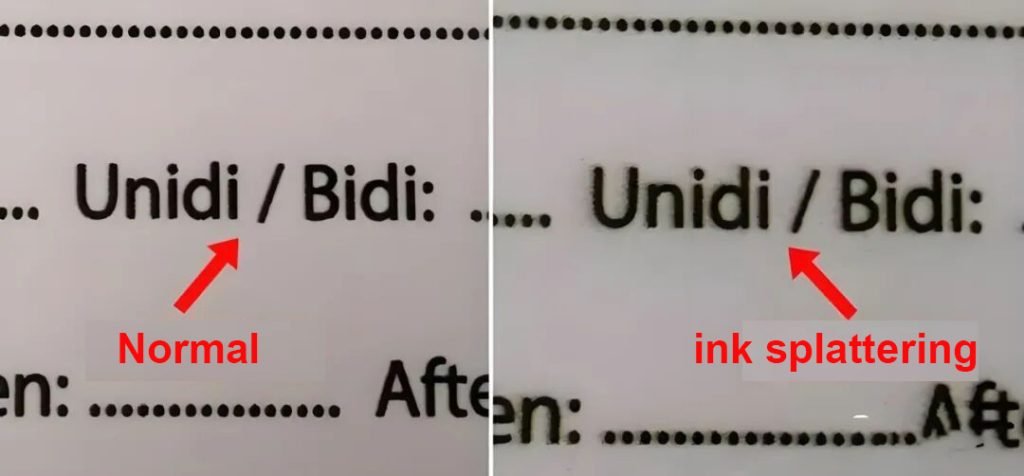
The health of the printhead is most directly reflected in the print quality:
Color deviation or missing: Uneven color, missing color blocks, or incomplete band breaks in the printed image typically indicate a clogged nozzle and abnormal ink output.
Rough edges or smearing: When ink appears to fly, smear, or string along the edges of a print, this indicates dried ink or impurities inside the nozzle and requires cleaning.
2. Printhead Test
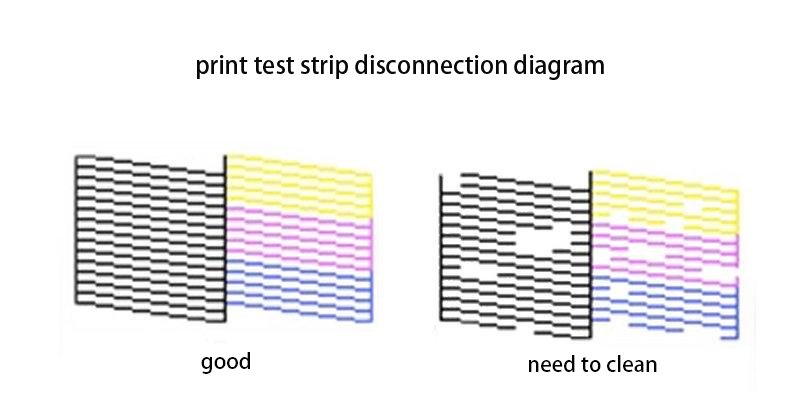
Most printers have a built-in printhead test function. By printing a test strip, you can quickly determine whether the nozzles are jetting properly:
If the test strip prints clearly and completely, the printhead is in good condition and does not require cleaning.
If there are broken lines, blank spaces, or missing colors, the printhead is clogged and requires immediate cleaning.
If there is a misty or diffused spray, the spray direction is unstable, indicating impurities or residual ink accumulation at the nozzle outlet.
Many users perform test prints as part of their daily routine, printing them every few days to monitor the printhead's condition and ensure early detection and maintenance.
3. Printhead Appearance
In addition to print quality, the appearance of the printhead can also provide clues for judgment:
Ink residue on the printhead surface: If you can see dried ink or accumulation around the edge of the printhead, it indicates that there have been residual deposits during use.
Debris around the nozzle: Foreign matter, such as dust and paper scraps, can easily affect ink droplet ejection accuracy and requires prompt cleaning.
Dirty nozzle contacts: Ink leakage or contamination at the interface can cause poor electrical contact and affect jetting stability.
4. Device Prompts and Usage Practices
Modern UV and eco-solvent printers typically feature printhead status monitoring and alarms:
Device Alarms: When a nozzle abnormality or blockage is detected, the system will sound an alarm, prompting the user to perform a printhead cleaning.
Extended Downtime: When a device is left unused for several days, the ink may dry out in the printheads, requiring cleaning before restarting.
High-Frequency Printing: After continuous, high-intensity production, trace amounts of residual ink or sediment can easily accumulate in the printhead nozzles, requiring regular cleaning.
Summary
To determine whether the printhead needs cleaning, you can comprehensively assess print quality, test strip results, printhead appearance, and device prompts. If you notice any printhead anomalies, clean them promptly to prevent further problems. Furthermore, cleaning the printhead requires specialized cleaning fluid and appropriate tools.
Ⅱ. Printhead Cleaning Methods
1. Basic-Level Printhead Cleaning
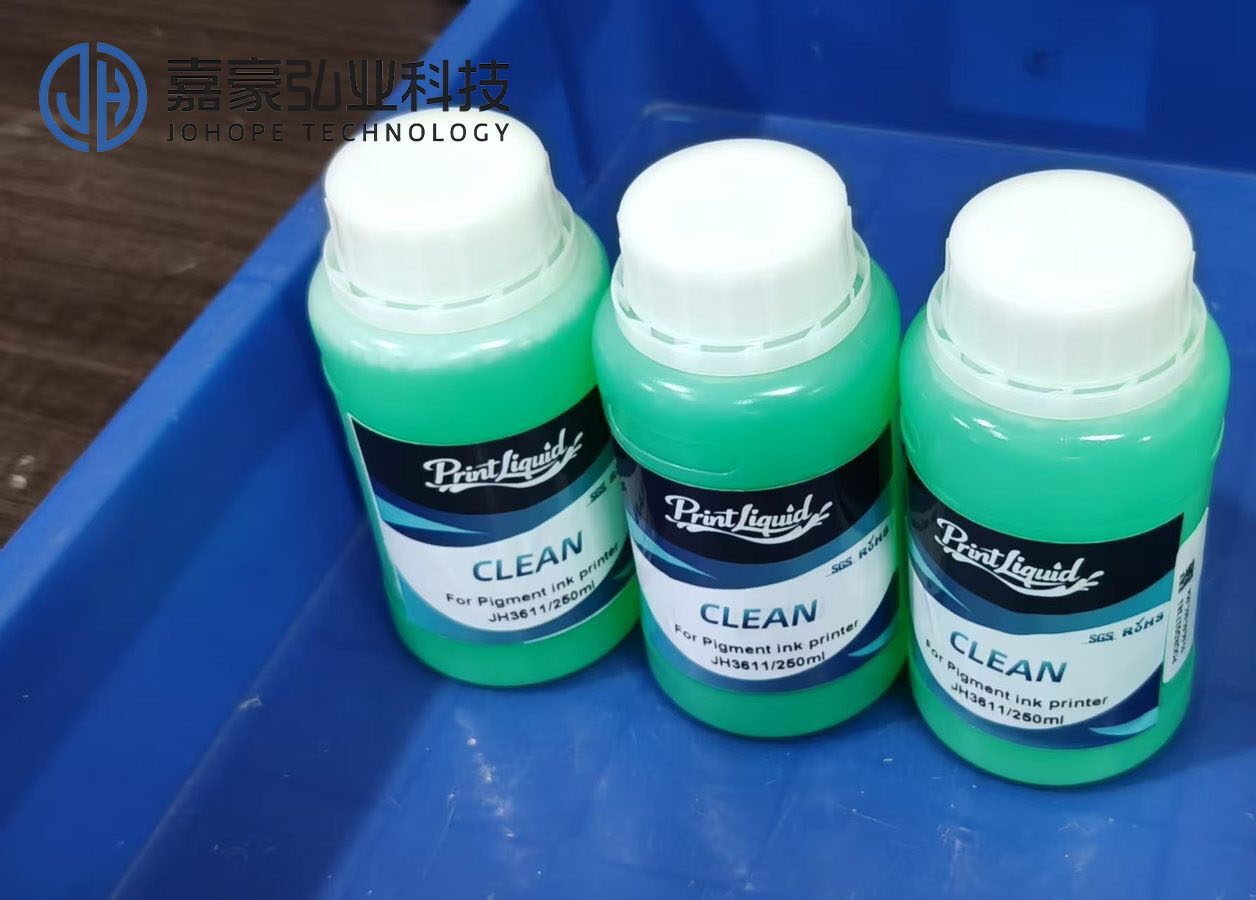
Basic-level printhead cleaning generally refers to cleaning the printhead with pure water, alcohol, cleaning fluid, etc. when it is blocked. This method is often effective when the printhead is in poor condition or slightly blocked. It is also the most commonly used cleaning method in the current application end. The principle is to soak and clean the printhead with a liquid with cleaning function. It does have a significant improvement on some minor blockages, and it is also a basic method that our users need to master.
2. Entry-level Printhead Cleaning
Entry-level printhead cleaning is generally an upgrade based on the above-mentioned basic-level repair. It is usually performed with auxiliary equipment such as syringes and ultrasonic printhead cleaners. It is mainly used in cases where the printhead blockage is serious. When the blockage can not be solved by soaking and cleaning with cleaning fluid, it is deep cleaned with a syringe or ultrasonic waves. There are two specific performance methods.
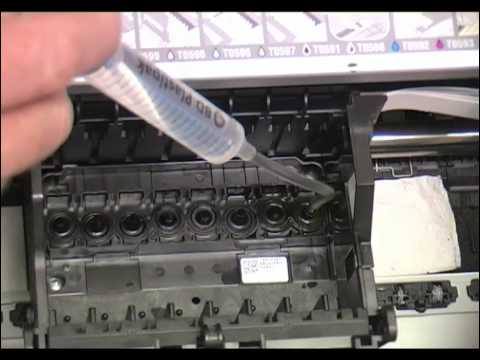
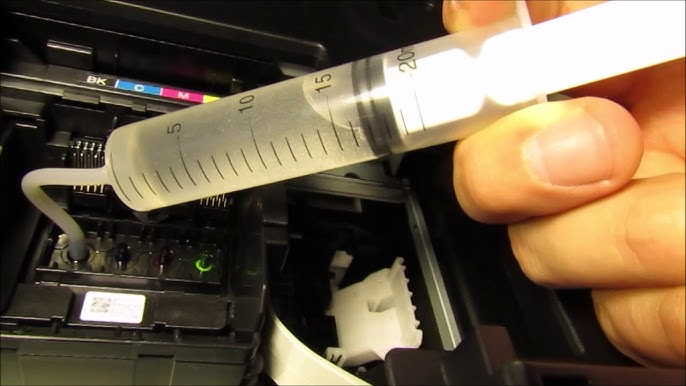
One is the method of using a cleaning liquid with a syringe. The cleaning force of the inkjet printer machine is relatively weak. When the printhead is severely clogged, no matter how it is cleaned, the nozzle condition of the printhead will not improve. At this time, with the assistance of a syringe, the cleaning liquid is directly injected into the nozzle with a syringe, and then the clogged printhead is slowly flushed open by back-sucking and squeezing.
There are two key details to pay attention to: one is that the force of the syringe squeezing must be controlled well to avoid piercing the nozzle due to excessive squeezing force; the other is that the back-sucking step is particularly important. Sometimes forward cleaning is ineffective, and back-sucking with a syringe can often draw out impurities clogged in the nozzle. After drawing them out, pull out the syringe, and do not continue to squeeze and squeeze the back-sucked impurities back into the nozzle.
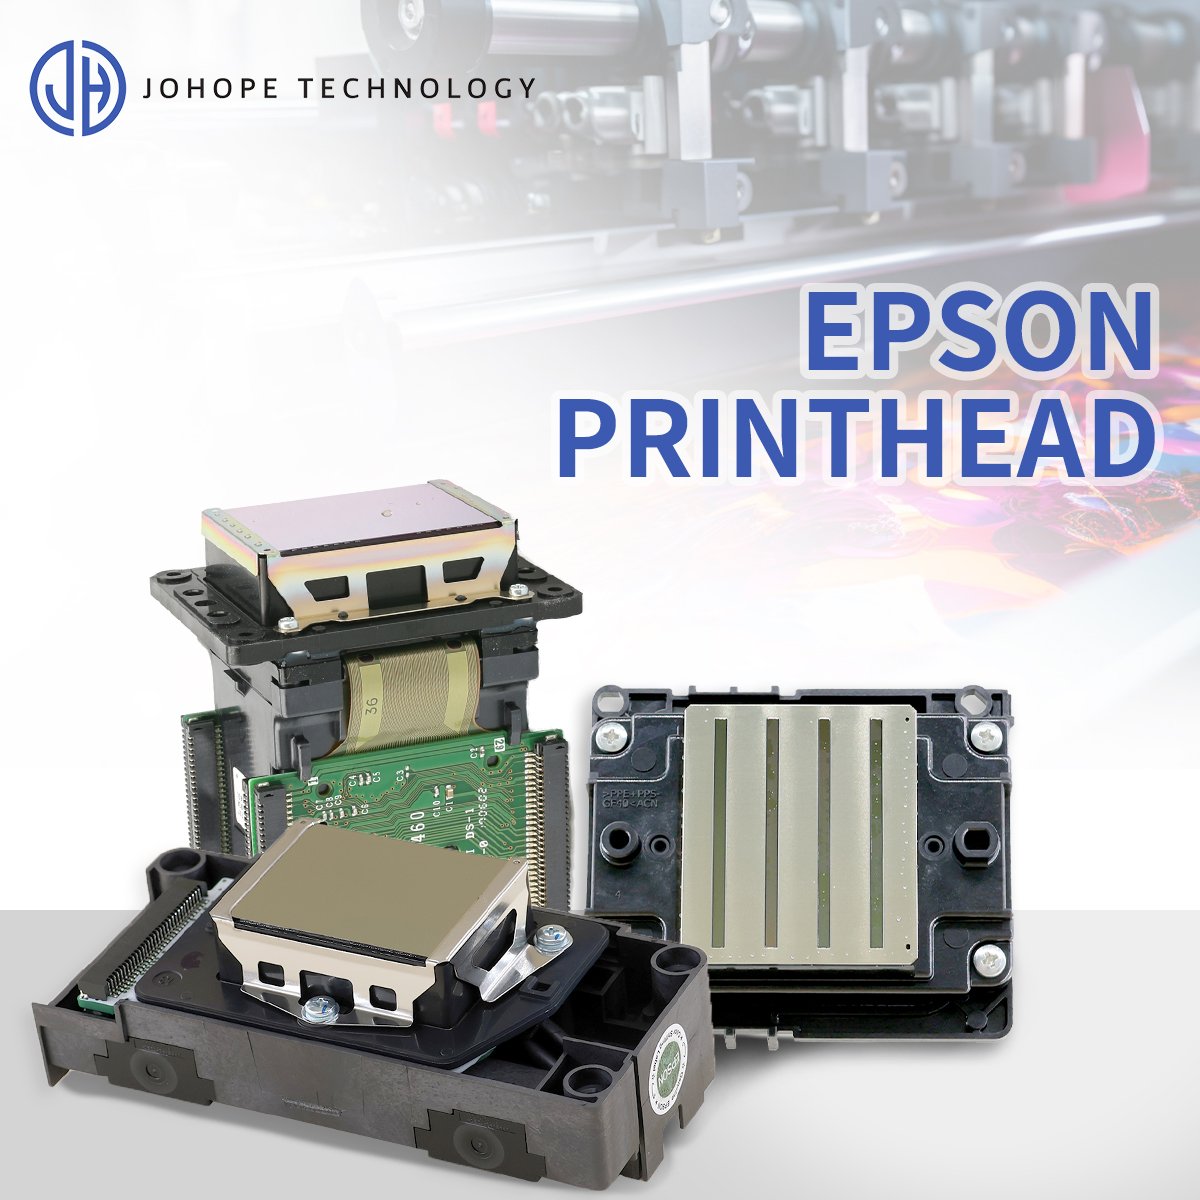
Another method is to use a cleaning liquid combined with ultrasonic wave. Since the nozzle is severely clogged, it is difficult to clean it out with a machine. At this time, the nozzle is placed in the ultrasound cleaner. The cavitation and acceleration of the ultrasound in the liquid directly and indirectly act on the clogged impurities in the nozzle, so that the impurities clogged in the nozzle are dispersed, emulsified, and peeled off to achieve the purpose of easy cleaning. The key point of using ultrasound to clean the printhead is the control of the ultrasonic frequency. Too high a frequency can easily cause the nozzle to be perforated. The common Epson DX6 printheads on the market are relatively fragile. Basically, the nozzle will be perforated and scrapped once it is vibrated by ultrasonic cleaning.
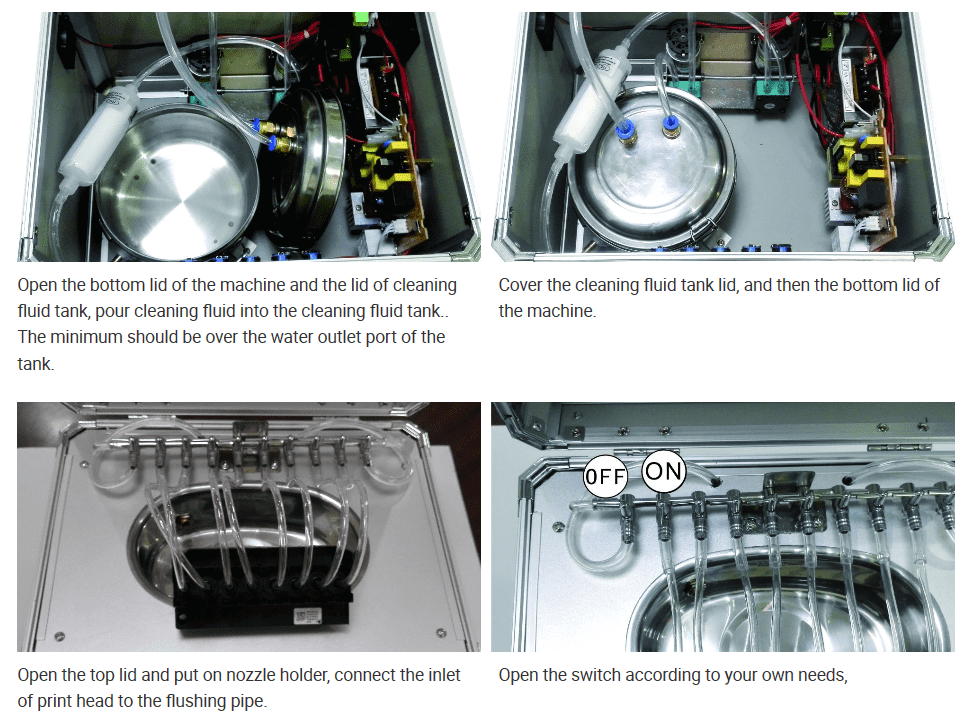
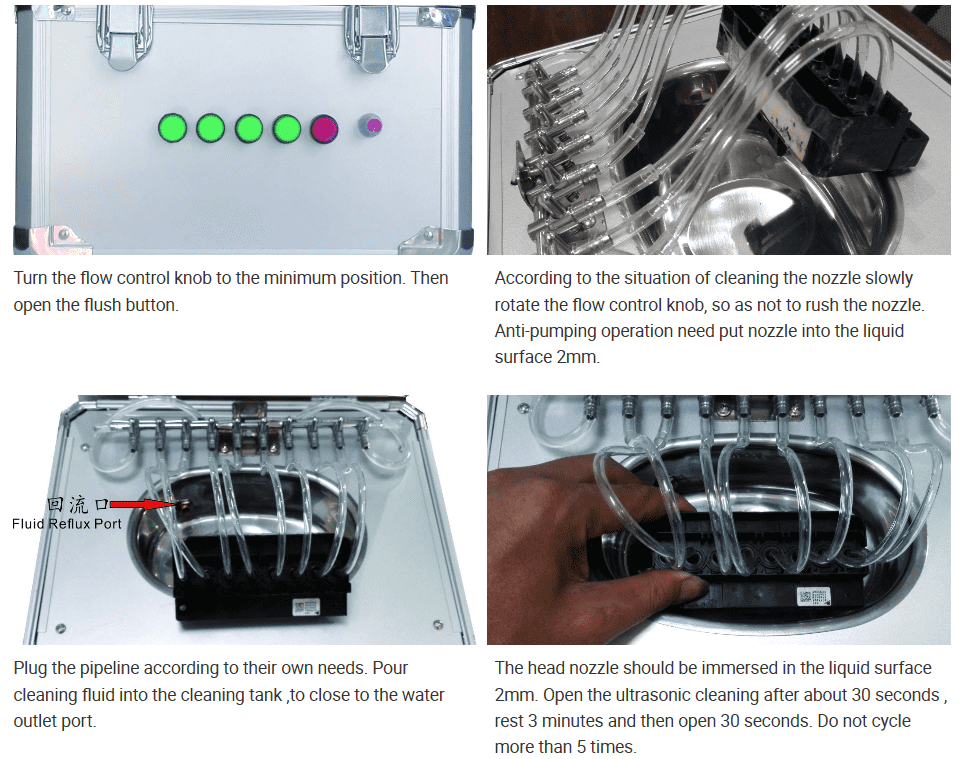
The principle of entry-level printhead cleaning is to use external force to disperse and embrittle the stubborn impurities blocking the nozzle, so as to achieve the purpose of cleaning the impurities. In practical applications, it is often implemented by combining a syringe and ultrasonic cleaner. There are also special repair equipment on the market, which is actually an integrated device that uses this method to deeply clean the printhead.
3. Professional-Grade Printhead Repair
The two printhead cleaning methods mentioned above actually belong to the category of printhead cleaning, and strictly speaking, they have not yet reached the stage of printhead repair. The real printhead repair is not only to deeply clean the clogged nozzle, but also to disassemble and repair the printhead. For example, the common Epson DX5 printhead perforation problem, when the nozzle is perforated in actual application, it cannot be cleaned no matter how it is cleaned, because this is not the category of nozzle blockage, but a problem of the built-in structure of the printhead. The real professional-grade repair is to disassemble the printhead, and then re-film it for repair. The repaired printhead can continue to be used. The disassembly and restoration is the printhead repair with real technical content.
At present, most of the nozzle repairs advertised on the market are still at the entry-level deep cleaning stage, and there are very few professional nozzle repair personnel who can really disassemble and restore the nozzles. Many of the nozzle disassembly and restoration promotions are just slogans, and there are still many problems at the technical level. First of all, nozzle disassembly is a porcelain job, and the nozzle will be scrapped if it is not done properly; then nozzle restoration is a high-tech job, and what kind of adhesive to choose and how to ensure the durability of the nozzle after restoration are all very valuable technical jobs.