In today’s fast-growing world of custom apparel and digital printing, DTF (Direct-to-Film) printers have become essential production tools. From small studios to industrial operations, they deliver vibrant colors, sharp details, and compatibility with a wide range of materials.
However, many users overlook a critical factor:
Most printer issues are not caused by hardware failure—but by poor maintenance.
Dust accumulation, dried ink, and environmental contamination can gradually degrade performance, leading to print defects, clogged printheads, and unexpected downtime.
This guide provides a practical, step-by-step cleaning workflow to help you maintain stable output, reduce failures, and significantly extend your printer’s lifespan.
Why Regular Cleaning Matters More Than Repairs
Many operators adopt a reactive approach—only fixing issues when they occur. In reality, most problems can be prevented.
1. Maintain Consistent Print Quality
Clogged nozzles and ink residue can cause banding, missing lines, or uneven colors.
2. Extend the Life of Key Components
Critical parts like the printhead, rollers, and ink system wear out faster in dirty environments.
3. Reduce Downtime and Maintenance Costs
Issues such as paper jams, ink flow errors, and system alerts are often caused by contamination buildup.
In short:
Routine cleaning is the most cost-effective way to ensure stable production.
Routine Maintenance Includes Replacing Wear Parts
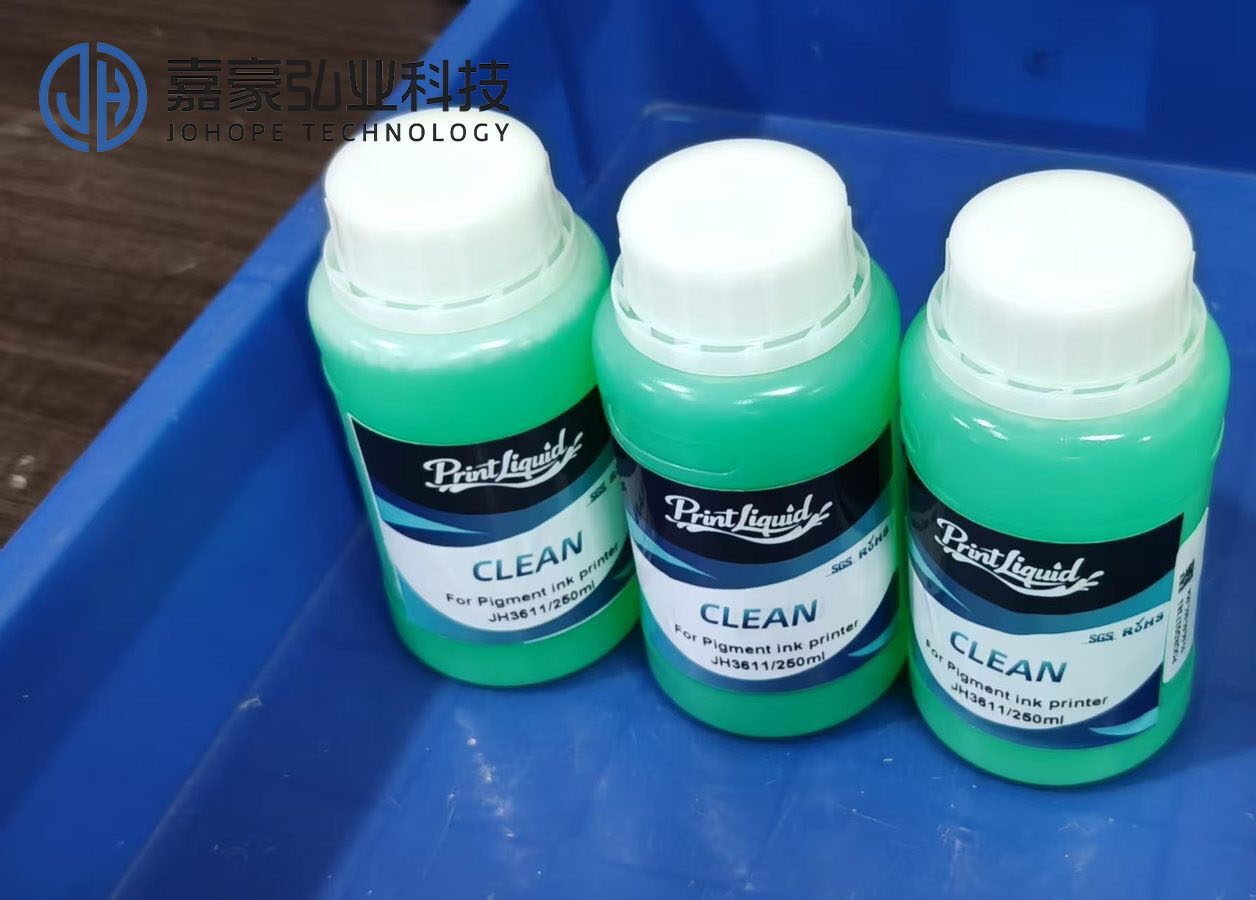
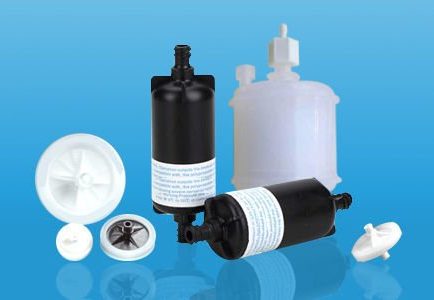
Cleaning is only one part of preventive maintenance. Many DTF printer issues are caused by worn consumable components rather than dirt alone. Parts such as capping stations, wiper blades, dampers, ink filters, ink tubes, and cleaning solution should be inspected regularly and replaced when necessary to maintain stable ink flow and protect the printhead.
Using high-quality DTF printer parts as part of a preventive maintenance plan can help reduce unexpected downtime and improve long-term printing performance.
Essential Cleaning Tools (Recommended Setup)
Before starting, prepare a standard cleaning kit:
- Lint-free cloths/foam swabs – Prevent fiber contamination and scratches
- 75% Isopropyl Alcohol (IPA) – Dissolves ink residue and evaporates quickly
- Compressed air – Removes dust from internal gaps and vents
- DTF cleaning solution – Safe for printheads and ink system components
- Disposable gloves – Protect both the operator and sensitive parts
Always power off and unplug the printer before cleaning.
Step-by-Step DTF Printer Cleaning Process
This section can be used as a standard operating procedure (SOP).
Step 1: External Cleaning (Weekly)
How to do it:
- Use a dry or slightly damp lint-free cloth
- Wipe from top to bottom, outside to inside
- Focus on the control panel, input/output areas
Important notes:
- Avoid excessive moisture
- Do not apply strong pressure
Purpose: Prevent dust from entering internal components
Step 2: Print Platform Cleaning (Weekly – Critical)
The print platform directly affects positioning accuracy and print adhesion.
Procedure:
- Carefully remove the platform (if applicable)
- Use a lint-free cloth with a small amount of IPA
- Wipe in a single direction
- Repeat gently for stubborn ink stains
Key tips:
- Avoid back-and-forth wiping
- Ensure the platform is completely dry before reinstalling
A clean platform ensures sharp and accurate prints
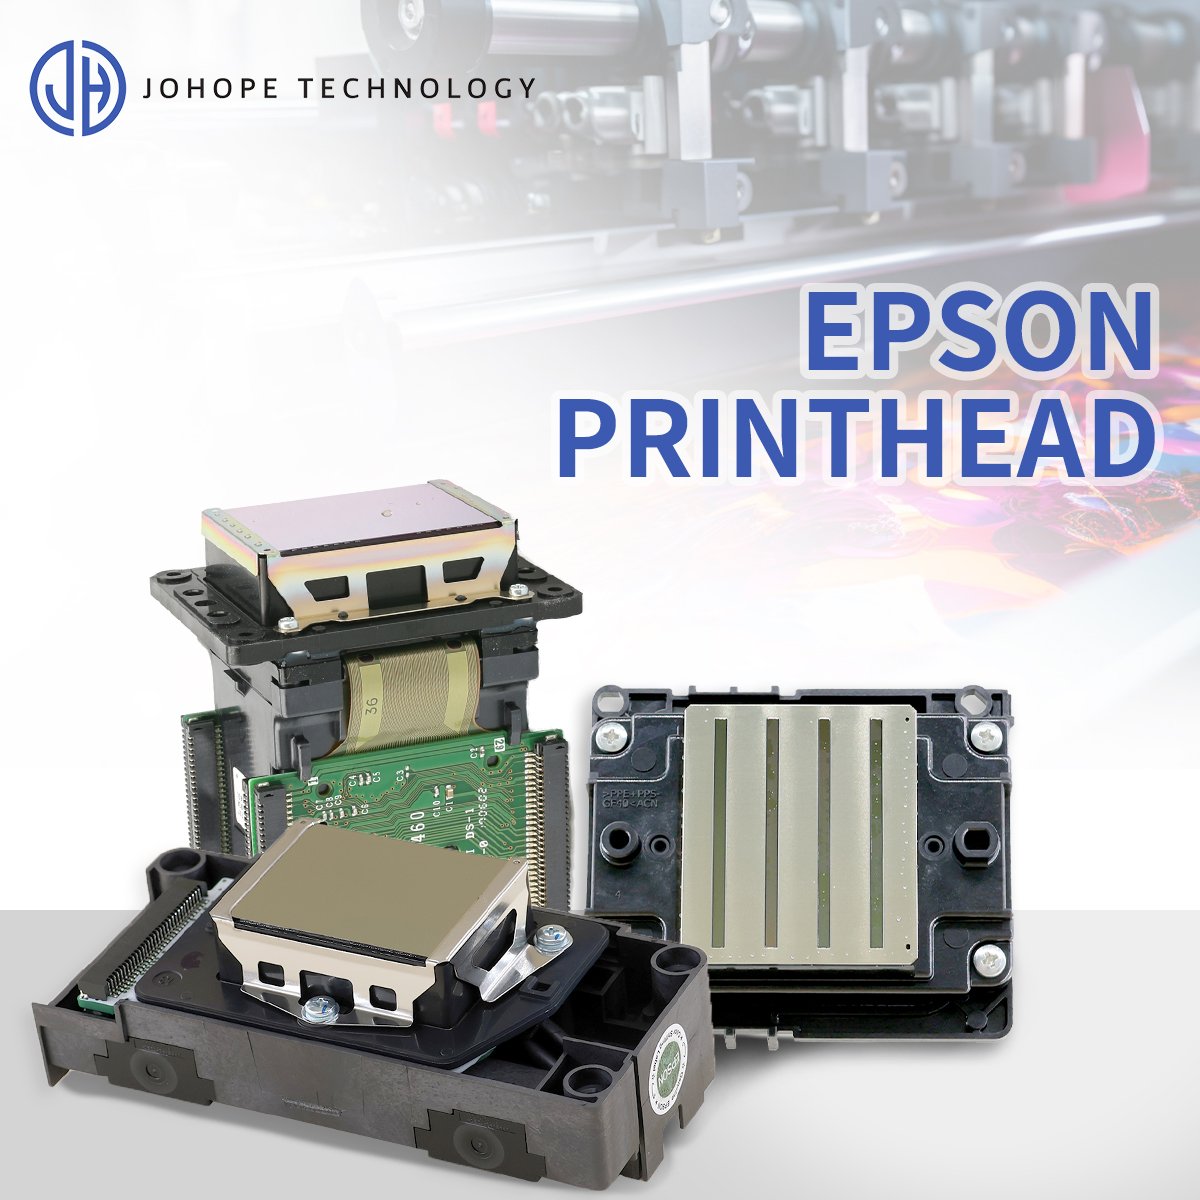
Step 3: Printhead Cleaning (Monthly – Core Maintenance)
The printhead is the most sensitive and expensive component.
Basic cleaning:
- Use a foam swab with a small amount of cleaning solution or IPA
- Gently wipe in one direction only
- Apply minimal pressure
For minor clogs:
- Use the printer’s built-in cleaning function first
- Avoid unnecessary manual cleaning
For severe clogs:
- Only soak the nozzle area (not the entire printhead)
- Limit soaking time to 24–48 hours
Warnings:
- Do not wipe back and forth
- Do not use regular cotton swabs
- Do not press or scrub the nozzle area
Golden rule: Handle the printhead as little and as gently as possible
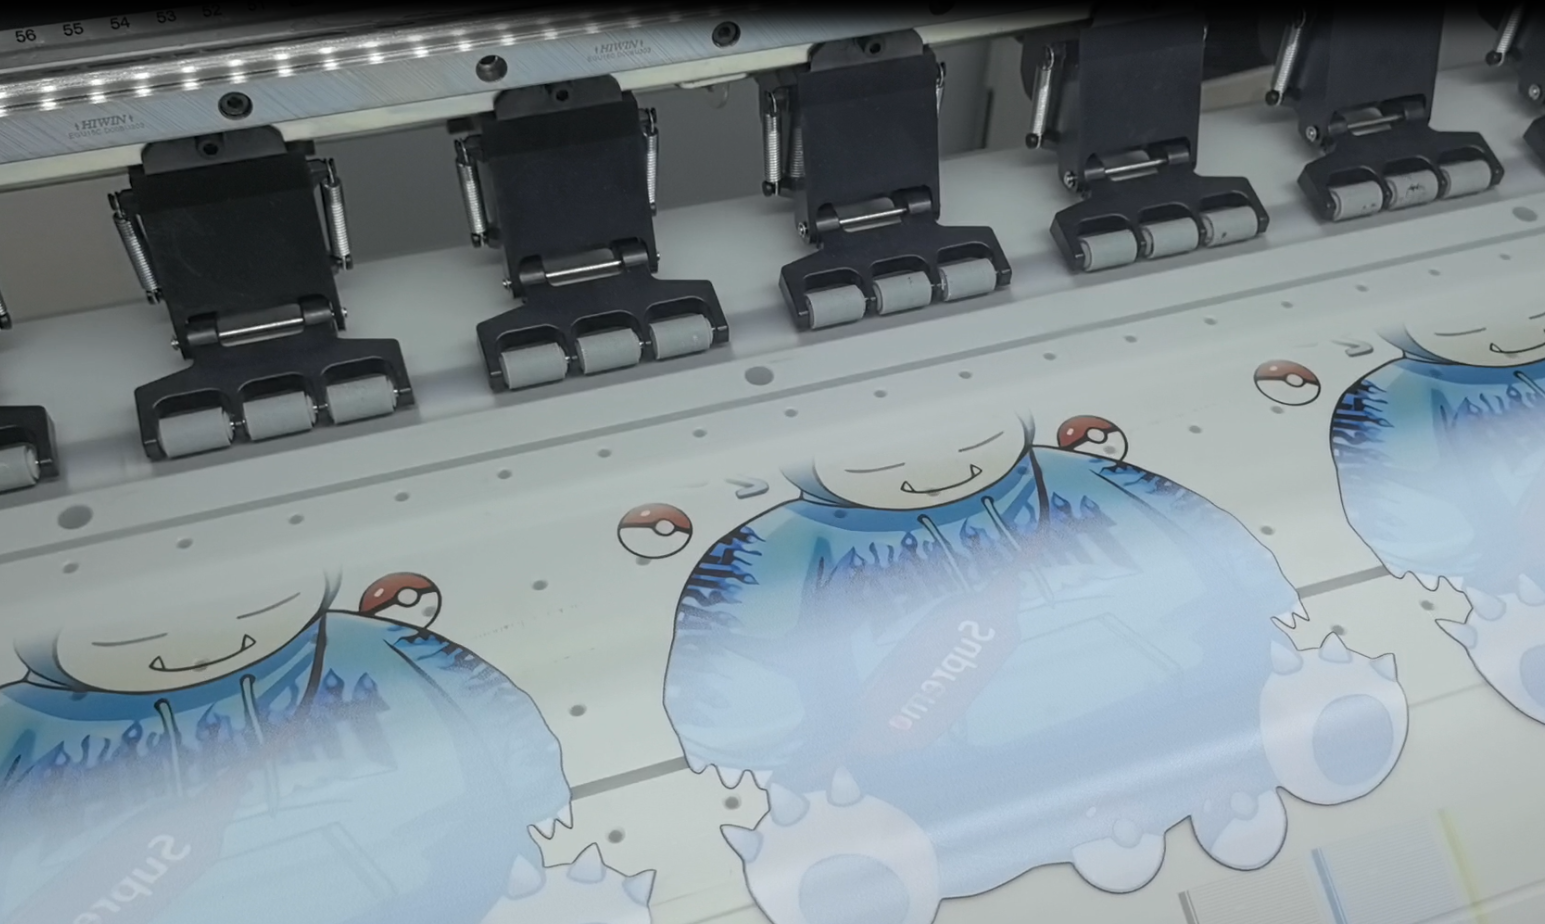
Step 4: Roller and Feeding System Cleaning (Monthly)
Dirty rollers can cause feeding issues and material jams.
Procedure:
- Use a lint-free cloth with a cleaning solution
- Slowly rotate the roller while wiping
- Remove ink, adhesive, and dust buildup
Precautions:
- Ensure rollers are fully dry before use
- Prevent liquid from entering internal mechanisms
Clean rollers ensure smooth and stable media transport
Step 5: Internal Dust Removal (Every 2 Months)
Dust inside the printer can affect cooling and electronic stability.
Steps:
- Use compressed air for light, controlled airflow
- Focus on vents and non-critical internal areas
Cautions:
- Do not blow directly onto the printhead
- Avoid strong airflow on circuit boards
- Use swabs for stubborn debris if needed
Dust control helps prevent hidden long-term issues
Common Mistakes to Avoid
Over-cleaning the printhead
Leads to unnecessary wear and ink waste
Using paper towels or regular cloths
Can leave fibers and cause clogging
Using harsh or high-concentration chemicals
May damage coatings and internal components
Recommended Maintenance Schedule of DTF Printer Cleaning
- Weekly: External + platform cleaning
- Monthly: Printhead + rollers
- Every 2 months: Internal dust removal
Consistency is more effective than occasional deep cleaning
Final Thoughts
A DTF printer is more than just equipment—it’s the core of your production line.
Instead of reacting to failures, a structured cleaning routine allows you to:
- Maintain consistent print quality
- Reduce operational risks
- Extend equipment lifespan
Professional results come from disciplined maintenance.