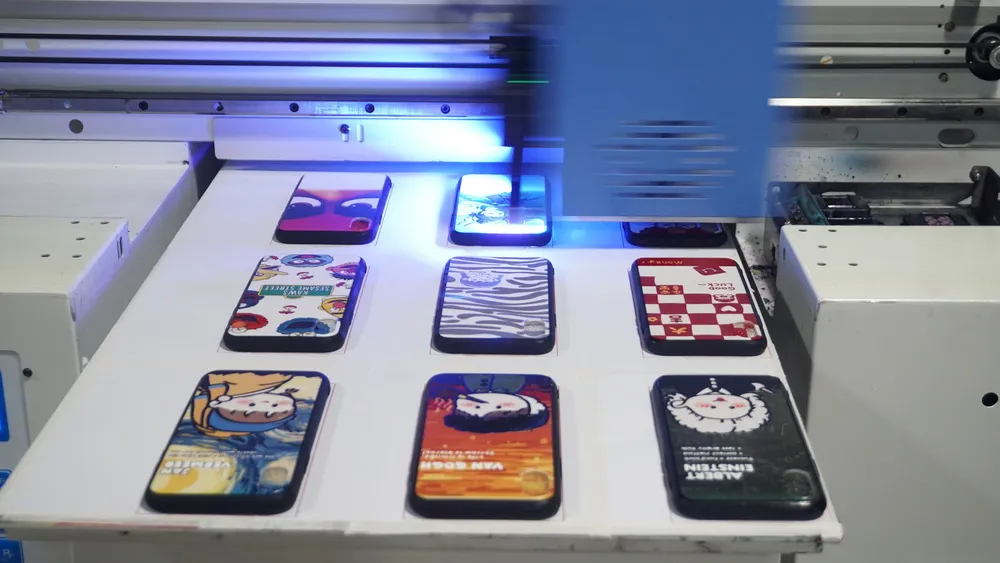
UV printer is a large digital printing device, and the printhead is the most important core component of the UV printer. Most people do not know how to maintain the printhead, which shortens its service life and costs a lot of money to buy a new one. In order to allow users to spend less cost and get higher returns, there are four UV printer head maintenance methods, including initial installation, daily maintenance, fault maintenance, and holiday maintenance.
1. Initial Maintenance After Equipment Installation
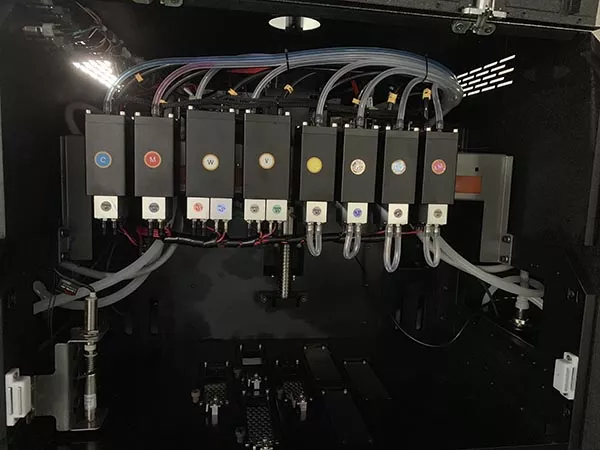
In order to make the printhead enter the best operating state, before the UV printer officially starts to undertake production business, please be sure to use 1 to 2 days to print as many pictures as possible. It is best to use 7 colors of CMYK/LC/LM/W and add color bars on both sides of the picture to ensure that the 4 printheads are always in the inkjet state.
Just like a car needs to be run-in when it is just bought, the better the run-in, the smoother the machine will be used later.

2. Daily Maintenance After Work is Completed Every Day
When the machine is turned off
After all printing jobs are completed every day, in order to keep the printhead in the best working condition and avoid printhead clogging due to UV ink volatilization, please perform maintenance as follows and let the device sit overnight.
a. Turn off the power of the UV printer.
b. First clean the non-woven fabric with a special cleaning liquid, then pour the cleaning liquid on the non-woven fabric to soak it.
c. Move the head back to the cleaning station at the far right and make the nozzle and non-woven fabric tightly combined.
d. Keep this state and let the device sit overnight.
When the machine is turned on
a. Turn off the UV lamp and let the platform absorb air.
b. Print a test strip to check whether the printhead is in good condition. If not, continue to maintain it until it is in good condition (no missing needles, no slanted spraying)
c. Do not turn off the computer and software; let the machine standby flash spray
3. What to Do After the Printhead is Slightly Clogged
a. Maintain the printhead using the conventional method (gently wipe the nozzle surface with non-woven fabric) until it is in normal condition.
b. Cleaning fluid maintenance (use a sponge stick dipped in cleaning fluid to gently squeeze the nozzle surface for 1-2 minutes), then wipe the nozzle surface with ink-pressing non-woven fabric, check the printhead status diagram, and repeat the operation several times until it is in normal condition.
c. Combined with the cleaning fluid maintenance method, increase the printhead correction voltage by 1-2V and print 2m*1m color blocks (print color blocks with problematic nozzle status) 2-3 times at intervals and check the printhead status diagram until it is in normal condition.
d. Do not flush the printhead without authorization. If it is damaged, you will be responsible for the consequences!
After the equipment is installed, the printhead maintenance is performed at the initial stage of the equipment activation. If the UV printer is not used for a long time, the print head of the printer is easy to block. Especially during the Spring Festival, the temperature in various places is relatively low, and the ink is easy to produce sediment and impurities after freezing. Ensure that the room temperature is between 20℃~30ºC. If the temperature is too low, it may cause serious losses. The printer should be placed in a dry, clean, and light-proof environment.
4. Holiday Maintenance of UV Printer Head
Clean the surface of the printhead nozzle with cleaning fluid, then lay 9-10 layers of non-woven fabric under the nozzle with a piece of glass, add more cleaning fluid to the fabric, and finally press the nozzle on the fabric to seal the nozzle.
Perform routine maintenance on the printer every three days or so, print the printhead status diagram, and after confirming the nozzle status, print a color block of no less than one square for each color.
When it is unattended for more than a week
1. First, make a test strip sample comparison and software backup (including screenshot backup).
2. Shut down normally (make sure to close the negative pressure valve, turn off the voltage regulator, and unplug the machine power cord).
3. Clamp the ink tube between the disc filter and the secondary ink cartridge with hemostatic forceps, unscrew the interface between the disc filter and the ink tube, plug one end of the ink outlet tube of the secondary ink cartridge with a plug, and remove the hemostatic forceps.
Then:
1) Drain the ink in the printhead. Use a syringe to slowly pump air into the ink inlet of the disc filter until no ink flows out of the printhead.
2) Rinse the printhead with cleaning fluid. Wait until the color of the cleaning fluid mixed with the ink on the surface of the printhead is close to transparent. (It is not recommended to clean the printhead too quickly. You can pause several times in the middle so that the cleaning fluid can fully dissolve the ink in the printhead.)
3) Drain the cleaning fluid in the printhead. Use a syringe to slowly pump air into the ink inlet of the disc filter until no cleaning fluid flows out of the printhead.
4) Use a plug to block the ink inlet of the disc filter.
5) Finally, seal the printhead according to the unattended maintenance plan within one week to protect the printhead and prevent dust from getting on the surface.
Required tools: 1 hemostatic forceps, 1 trash can, 1 set of plugs on both sides of the disc filter, 2 bottles of cleaning fluid, 1 syringe, 1 meter of ink tube
After the holiday, clean and maintain the printer before using it. It is recommended to replace the filter that has not been used for a long time after a long vacation.