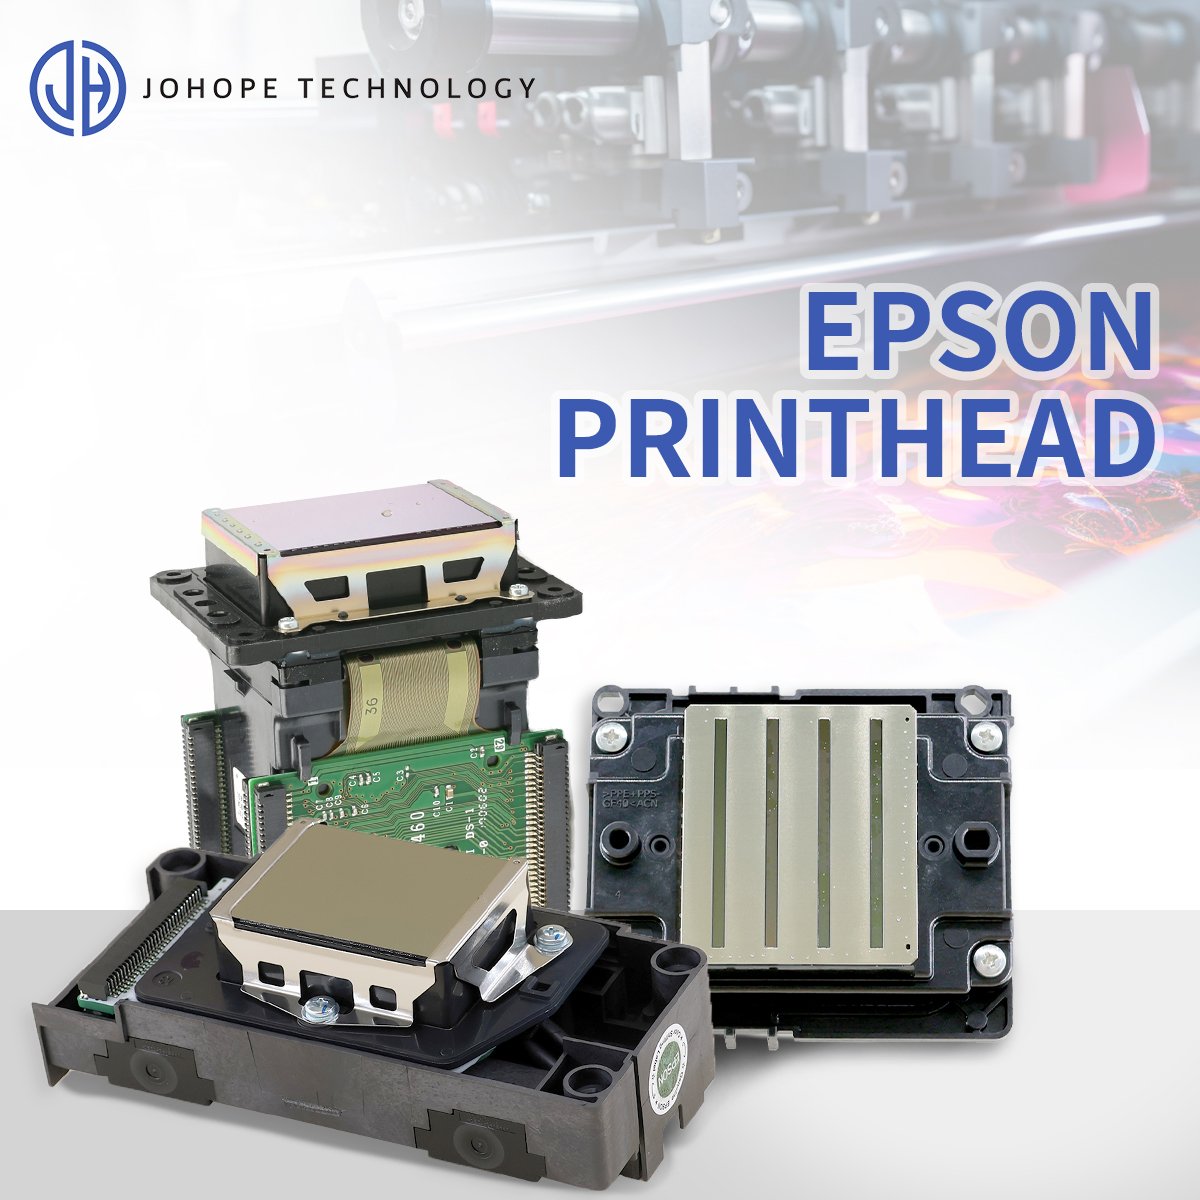
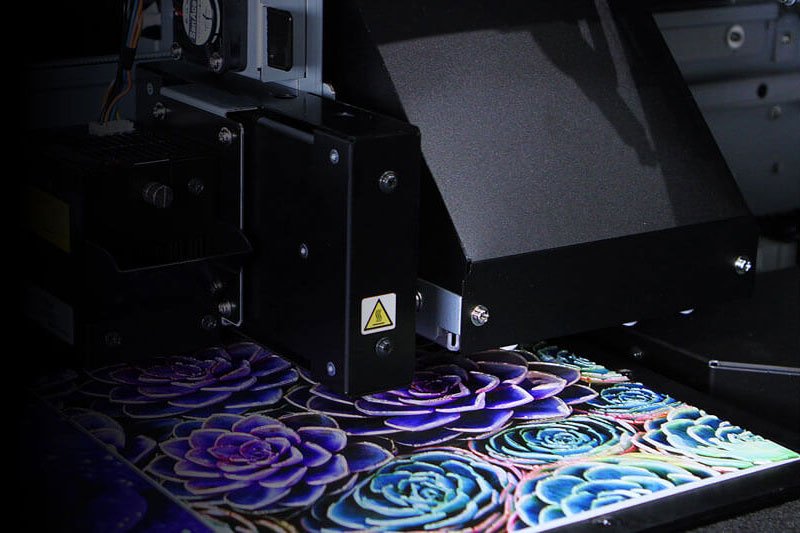
In wide-format, UV, or DTF printing, the printhead is the core component that determines print quality and production efficiency. However, many problems that appear to be “printhead failures” are actually caused by supply system instability or aging components.
This article provides a systematic guide to printhead troubleshooting, key component checks, and daily maintenance practices, helping you quickly identify problems and maintain stable printing performance.
Common Printhead Issues and Possible Causes
During everyday printing, you may encounter the following types of issues:
1. Faded Colors / Low Saturation
- Check if the capping station suction is adequate and whether the printhead is properly sealed.
- If the printhead has been unsealed for a long time, some nozzles may dry out and fail to deliver ink.
- Verify that the printhead voltage and pulse width are properly configured for the installed components.
2. Uneven Ink/Broken Lines in Prints
- An aged or hardened ink damper may reduce ink flow, causing intermittent gaps.
- Check the stability of the supply system's negative pressure to prevent ink backflow.
- Air bubbles or debris in the ink path can also cause inconsistent ink delivery.
3. Ink Spattering, Stringing, or Misaligned Prints
- Aging or loose FFC cables can interfere with signal transmission.
- Poor static discharge may cause ink droplets to shift or spatter.
- Pressure imbalances in the ink system—either overpressure or insufficient suction—can lead to misaligned prints.
Ink Supply System and Printhead Cleaning
When supply components are functioning properly but printing problems persist, the printhead itself may require inspection or cleaning.
Step 1: Automatic Cleaning
- Use your printer’s built-in ink draw and cleaning cycles 2–3 times.
- Print a test chart to see if the problem is resolved.
Step 2: Manual Cleaning
1. Carefully remove the printhead. Avoid scratching the nozzle surface.
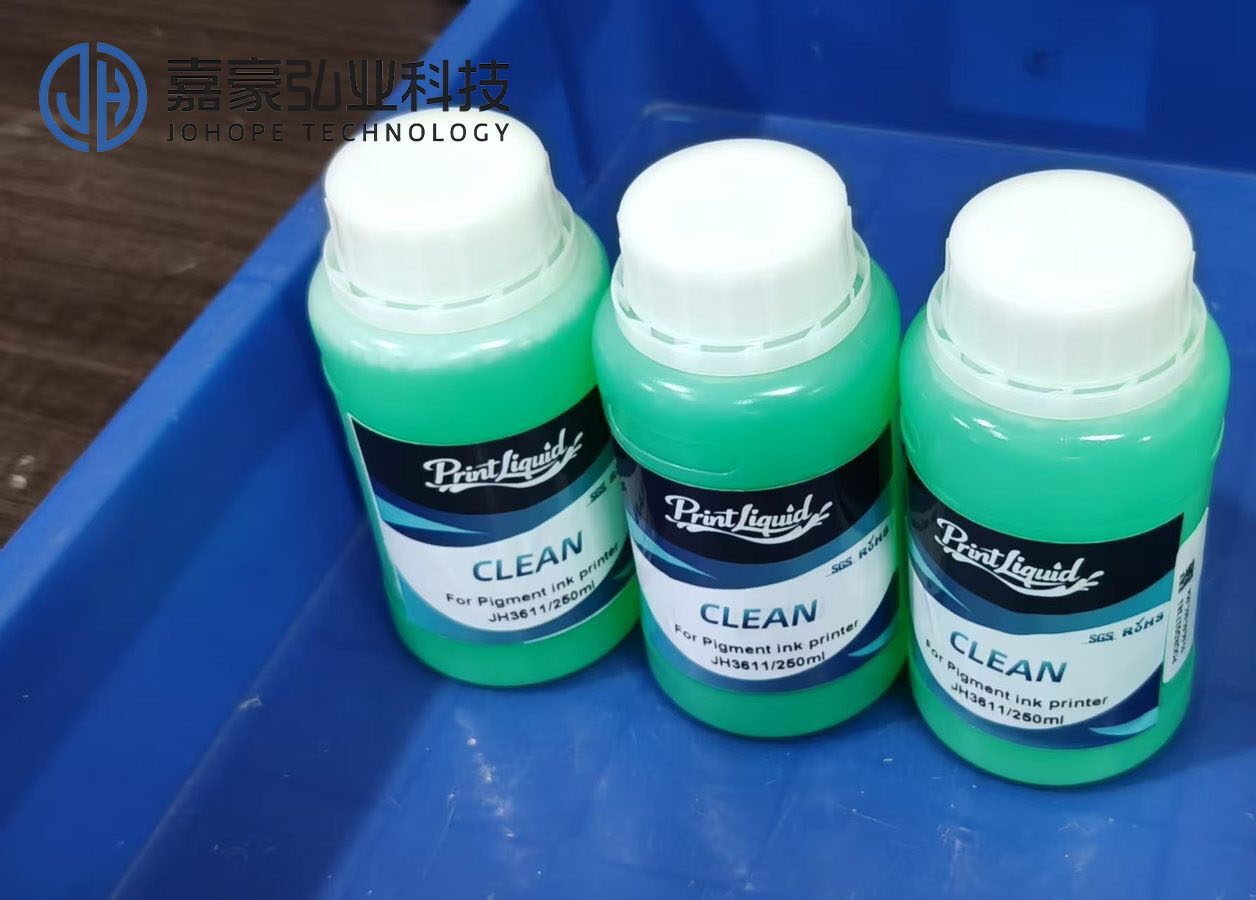
2. Use a glass syringe to inject ~40 ml of dedicated cleaning solution into the ink inlet. Observe the ink lines from the nozzles:
- Straight, continuous lines indicate the printhead is clean and functional.
- Ensure piezo elements and circuitry are intact before reuse.
Step 3: Soaking Method (for stubborn clogs)
- Pour the cleaning solution into a clean glass container. Submerge only the bottom 2–3 mm of the printhead.
- Cover with plastic wrap to prevent dust, and let it sit for at least 24 hours.
- Do not allow the top signal interface to contact the cleaning solution, as this may damage the printhead.
Proper cleaning can significantly extend the printhead’s life and maintain high-quality output for wide-format and UV printing.
Key Components: Checks and Maintenance
Many print issues are directly related to the following components. Effective printhead troubleshooting requires regular inspection and maintenance
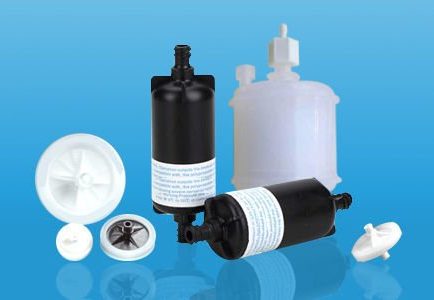
1. Ink Damper
Inspection Frequency: Every 1–2 months
- Check for clogged or discolored filters and hardened material.
- If intermittent ink delivery occurs, replacing the ink damper can help verify the issue.
- Use dampers specifically designed for your printhead model (e.g., DX5, XP600, i3200, 4720).
2. Capping Station
Inspection Frequency: Replace sealing rings every 3 months.
- Test suction manually to ensure proper ink recovery.
- Replace the capping station or seal if the printhead is not sealing properly.
- Keep the capping station clean and avoid leaving the printhead unsealed for extended periods.
3. Ink Pump & Negative Pressure System
Inspection Frequency: Daily pre-start check
- Verify pump suction and tubing condition, and check for blockages.
- Ensure negative pressure tanks and air lines are functioning correctly.
- If the ink supply is unstable, replace the tubing and recalibrate the negative pressure.
4. Printhead Cable (FFC Cable)
Inspection Frequency: Weekly
- Clean connectors and check for bent or corroded pins.
- Misaligned prints, garbled output, or partial nozzles may indicate signal issues.
- Avoid repeated insertion/removal that can loosen connectors; have technicians check periodically.
5. Wiper and Ink Filters
- Wiper: Keep it clean and flexible; replace if deformed or clogged with dried ink.
- Filter: Replace every 6 months to ensure stable ink flow and prevent debris from reaching the printhead.
Contact us today to get expert guidance and bulk pricing for all your printhead components!
Systematic Printhead Troubleshooting Workflow
Follow these steps for effective printhead troubleshooting:
1. Inspect ink levels and supply system first (cartridges, tubes, dampers).
2. Run built-in cleaning cycles and print a test chart.
3. If problems persist, perform manual cleaning or soaking of the printhead.
4. Check the capping station, ink pump, and FFC cables.
5. Only after all the above steps, evaluate whether the printhead is worn or damaged.
This step-by-step approach (“outside-in, simple-to-complex”) avoids unnecessary printhead replacements and reduces downtime.
Daily Maintenance Recommendations
- Perform a nozzle check before each print session.
- Clean capping stations and wipers weekly.
- Inspect or replace dampers and filters monthly.
- Use corrosion-resistant or UV-resistant components when working with specialty inks.
- Seal the printhead during idle periods to prevent drying.
Conclusion
Printhead problems are often systemic, arising from multiple supply components working together.
Regular inspection, proper maintenance, and timely replacement of ink dampers, capping stations, pumps, filters, wipers, and FFC cables can significantly reduce printing issues and extend printhead life.