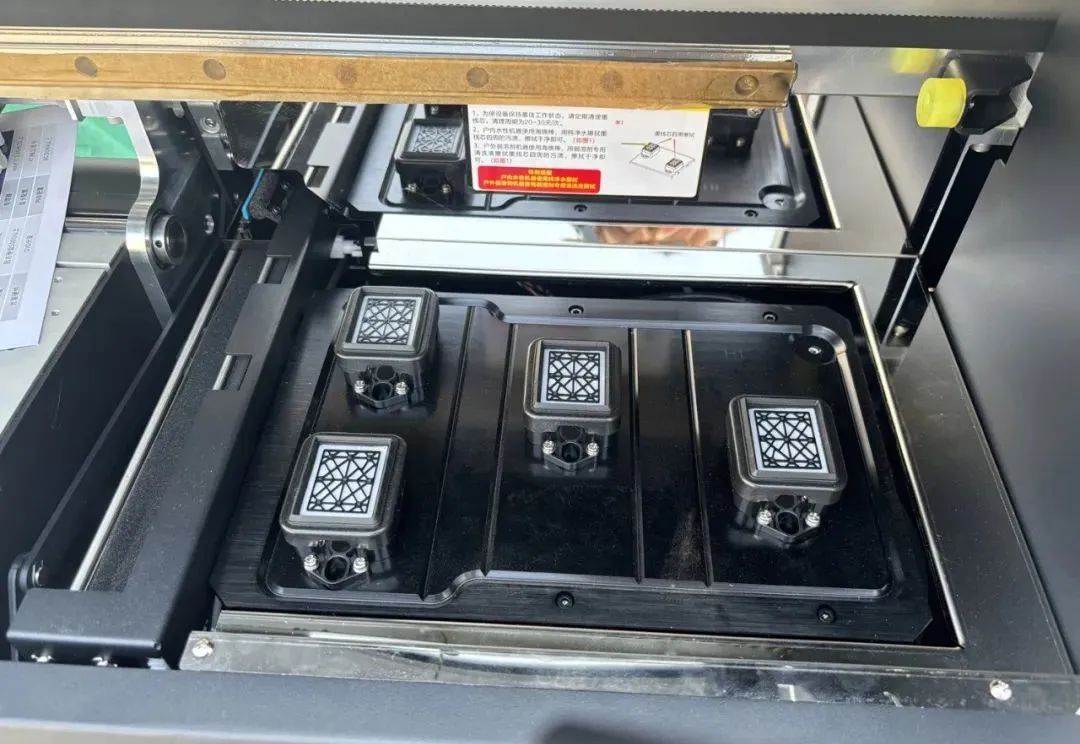
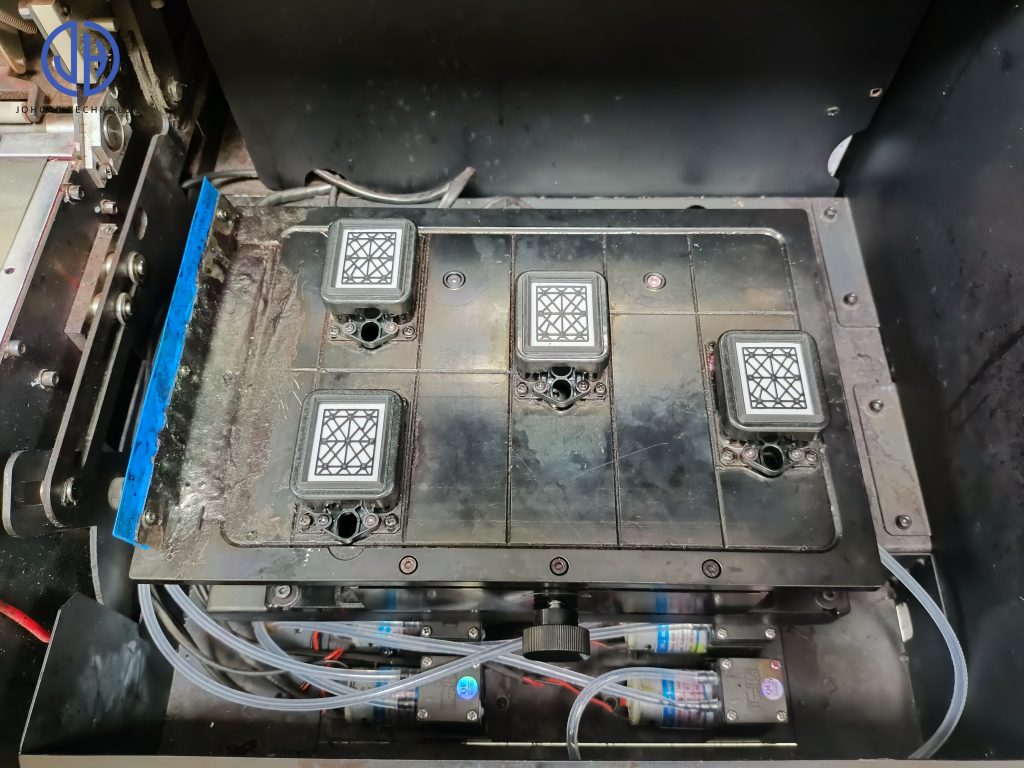
A capping station in a wide-format printer is a critical component responsible for maintaining the health and functionality of the printhead. Its primary function is to seal the printhead nozzles when the printer is not in use, preventing the ink from drying out and causing clogs. Additionally, the capping station helps keep the nozzles moist, creating a sealed and controlled environment that reduces the risk of ink drying inside the printhead.
During cleaning cycles, the capping station collaborates with the ink pump to create suction. This process pulls cleaning solution or ink through the nozzles to remove any clogs. It also acts as a waste ink collection point, capturing excess ink discharged during purging and cleaning processes.
In summary, the capping station is vital for maintaining the printhead and ensuring consistent print quality. It also helps extend the overall lifespan of your printer. Keeping the capping station in good condition is vital for ensuring reliable printer performance.
How to Clean the Printer Capping Station?
Regular cleaning of the capping station is essential to maintain smooth ink flow and prevent nozzle blockages in your printer. Over time, dried ink, dust, and other debris can build up on the capping station, especially around the rubber seals and inside the waste ink outlet. This buildup can reduce the capping station’s sealing ability and suction performance.
Here’s a step-by-step guide on how to clean the capping station safely:
Power Off the Printer: Before starting, make sure your printer is completely powered off and unplugged to avoid electrical accidents.
1) Access the Capping Station: Open the printer cover and gently move the printhead carriage (if your printer allows manual movement) to expose the capping station.
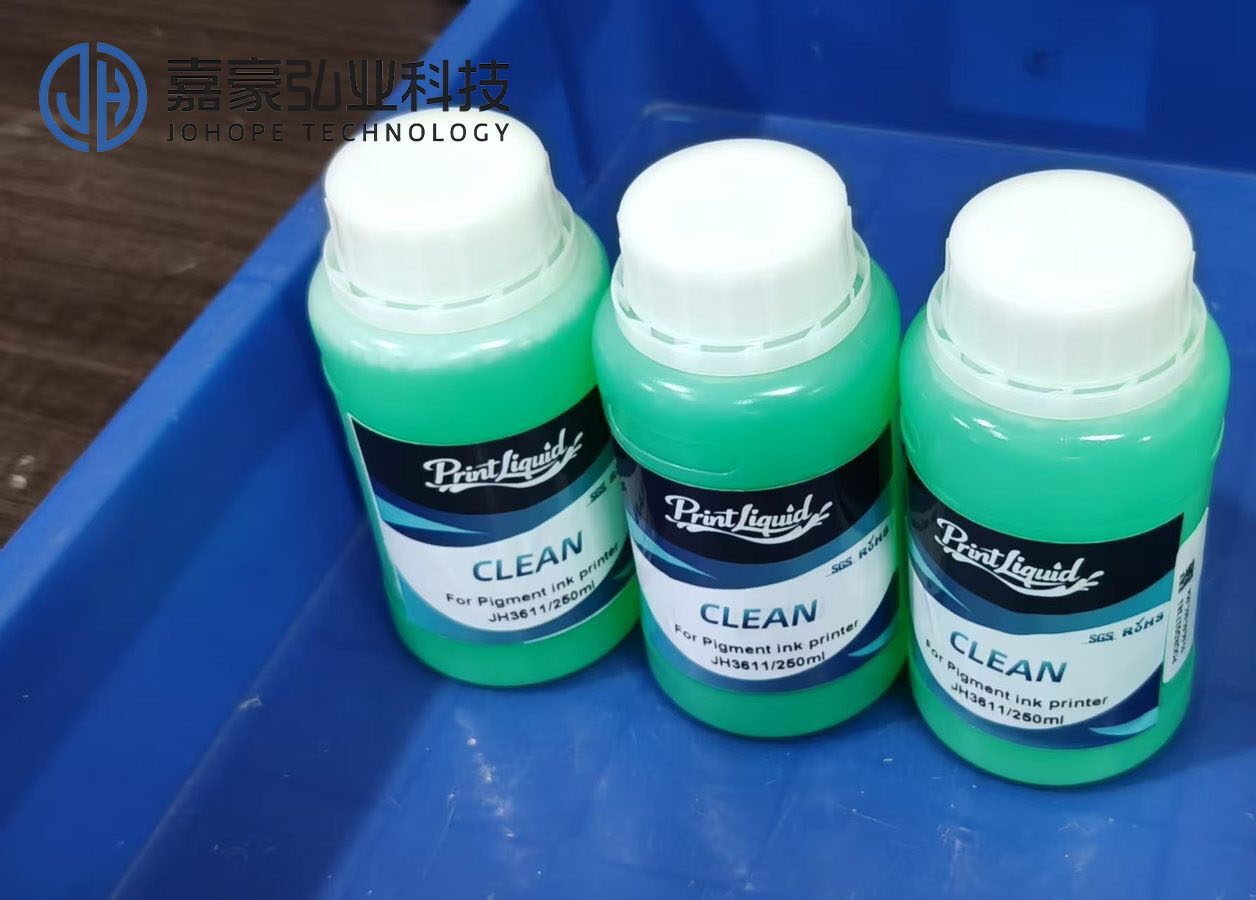
2) Wipe the Surface: Using a lint-free cloth or a cleaning swab dipped in printhead cleaning solution, gently wipe the surface of the capping station, rubber edges, and surrounding areas. Avoid using excessive force to prevent damaging the rubber seals.
3) Flush the Waste Ink Path (If Needed): If the waste ink outlet appears clogged, you can carefully flush it with a syringe filled with cleaning solution, ensuring smooth ink drainage.
4) Check for Blockages: Inspect the entire capping area for stubborn dried ink or residue buildup. Repeat the cleaning process if necessary.
5) Dry and Close: After cleaning, let the area air-dry for a few minutes before closing the printer cover and powering the printer back on.
By performing regular and gentle cleaning, you can help maintain the efficiency of the capping station and prolong the life of your printhead.
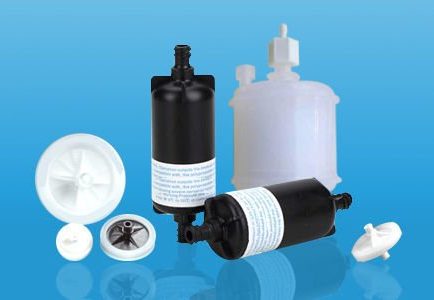
Capping station maintenance protects the printhead from dried ink and residue around the nozzle surface, but contaminants can also enter from upstream in the ink supply path. Proper ink filtration and printhead protection help prevent particles and sediment from reaching the nozzles, reducing recurring clogs and maintaining stable jetting performance.
How to Tell When It’s Time to Replace the Capping Station in Your Printer?
The capping station plays a vital role in maintaining printhead performance and print quality in your printer. When it starts to fail, several noticeable signs will appear during your daily printing tasks.
First, you may notice print quality issues, such as ink smudges, streaks, or uneven and missing ink. This often happens when the capping station can no longer seal properly or fails to keep the printhead moist, causing nozzle clogging and irregular ink flow.
Next, watch out for printer performance warnings. If your printer displays error messages like "Capping Station Error" or "Ink System Failure", the capping station may already be malfunctioning. Also, a faulty capping station can cause increased ink consumption due to poor sealing, leading to unnecessary ink waste.
Finally, conduct a visual check. If you see visible ink buildup or dried ink crusting around the capping station, it’s a clear sign the unit is no longer working effectively.
When these issues appear together or happen repeatedly, it’s time to consider replacing the capping station to avoid damage to your printhead and keep your printer running smoothly.
Adjustment method of the capping station and the printhead
The installation height, alignment, and sealing between the capping station and the printhead play a crucial role in daily printer maintenance. These factors directly affect printing quality, printhead lifespan, and overall equipment stability. If the capping station is misaligned or poorly sealed, it can lead to issues like ink starvation, nozzle blockages, and air leakage. Proper positioning and sealing are essential to ensure smooth operation and prevent printhead damage. Therefore, it is very important to understand the correct adjustment method.
1. Why do we need to adjust the capping station and the printhead?
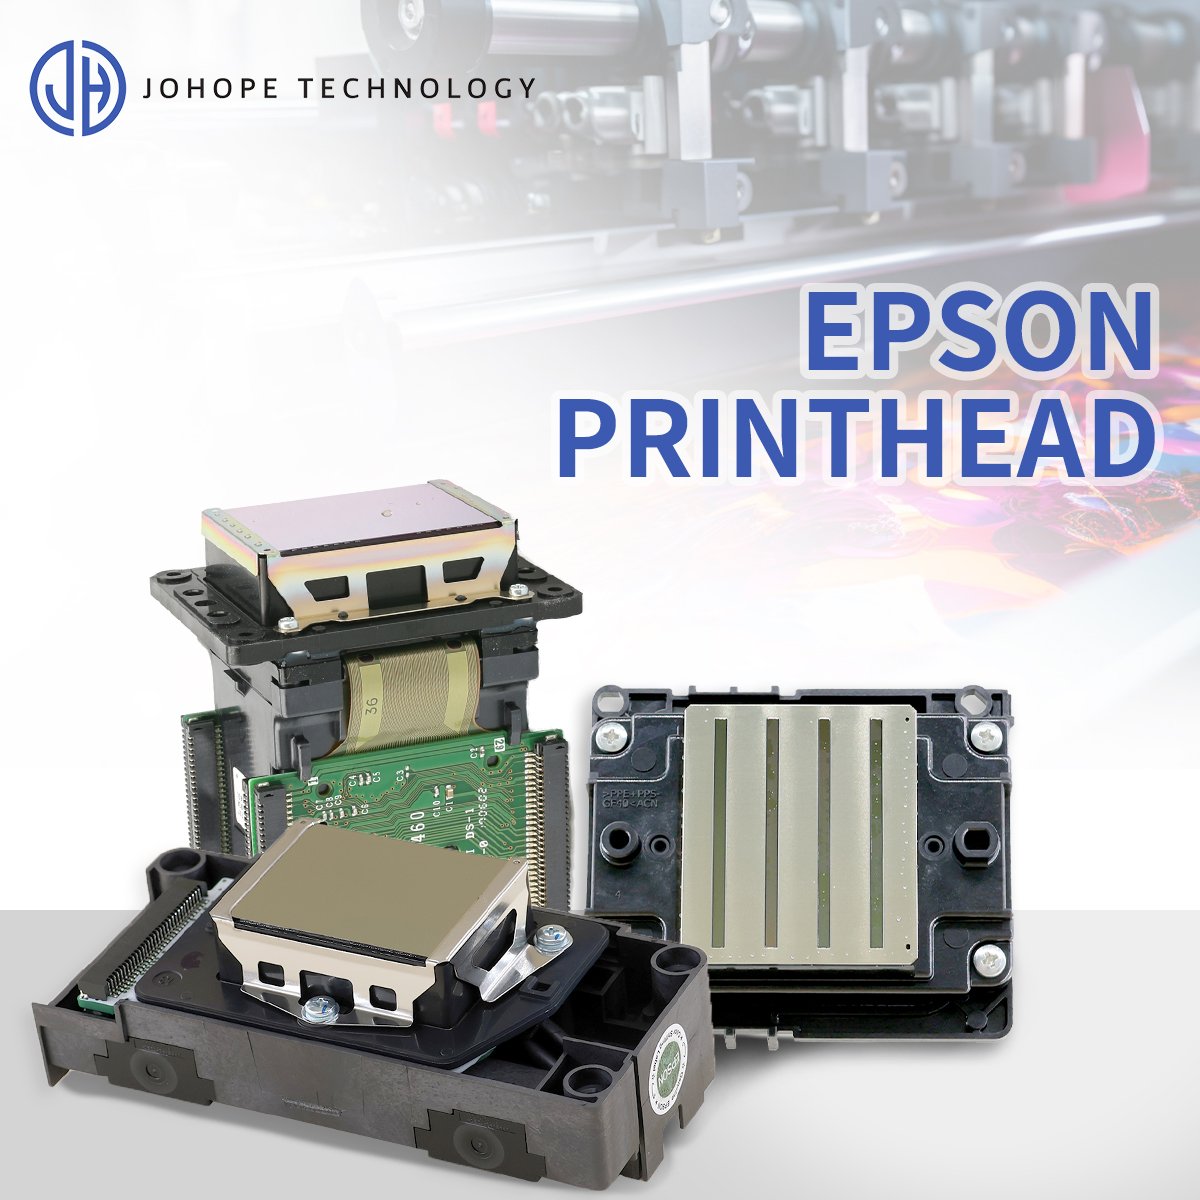
The main function of the ink capping is to seal, moisturize, clean, and discharge the waste ink of the printhead. The head is the core component to achieve image output. The two must be in the same position, and the pressure must be moderate to ensure:
The printhead is well sealed when it is idle to prevent it from drying.
Sufficient suction during cleaning and ink extraction, good cleaning effect.
Prevent air leakage, air intake, or ink leakage due to loose sealing.
2. Adjustment steps of capping station height and printhead position
Check the initial position of the ink capping:
Turn off the power of the machine, manually push the carriage to the maintenance position, and observe whether the position of the ink capping is facing the nozzle surface of the printhead. If necessary, use the maintenance mode to let the carriage automatically reset to observe the sealing effect.
Confirm the upper and lower heights:
The rubber seal of the ink capping and the nozzle surface of the printhead should be in a state of just contact but not pressure.
If it is too high, it is easy to cause nozzle pressure damage.
If it is too low, the seal is poor and air is easy to enter.
Use a feeler gauge or a plastic sheet to test the contact gap; generally, keep the pre-tightening effect within 0.1mm.
Left and right position correction:
The ink capping and the nozzle arrangement direction must be aligned in the center to avoid inadequate sealing. The position can be fine-tuned by adjusting the ink stack mounting rails or screws.
Front and rear clearance check:
The front and rear direction should ensure that the ink capping can completely cover the nozzle area, and cannot be biased forward or backward. Excessive front and rear deviations will cause uneven ink extraction or local dry spraying.
3. Check and fine-tune the horizontal angle of the printhead
Use a level or the printhead adjustment tool provided to check the horizontal angle of the printhead. Make sure that the nozzle surface is consistent with the horizontal plane of the carriage to prevent the inkjet angle from deviating and affecting the image quality.
If the nozzle is tilted, loosen the printhead fixing screw, make a slight adjustment, and then tighten it.
4. Sealing test and cleaning effect verification
After completing the adjustment, the effect can be confirmed in the following ways:
Manual ink extraction: Check whether the ink can be extracted smoothly without empty suction.
Printhead test strip: Print the test strip to confirm that the nozzles of various colors of ink are ejected normally without broken or missing lines.
Long-term static test: Turn off the device, let it stand overnight, and print again to confirm that the nozzle is not blocked.
5. Common problems and solutions
| Problem | Possible causes | Solutions |
| Poor ink extraction | Ink capping height is too low, or the seal is poor | Adjust the ink capping position or replace it |
| Ink leakage or ink hanging on the nozzle | The ink capping rubber is aged, or the nozzle angle is uneven | Lower the capping station position or check the elastic pad. |
| The line is still broken after cleaning | Replace the ink capping or readjust the printhead level. | Adjust the ink capping position or replace it. |
| Waste ink reflux | Capping station height is too high, or seal pressure is too high | The ink capping height is too low, or the seal is poor |